


Think of a prepaid New Zealand SIM card as your key to unlocking a stress-free trip. It's the simplest way to get connected with high-speed data and local calls without getting stung by those infamous international roaming fees. For most of us hitting the road, this little card is one of the first and most important things we sort out, giving us instant access to maps, apps, and a way to call home the second we touch down.
Why a Local SIM Card Is Your Best Travel Companion
Ever tried to find your way around a new place with a map that keeps freezing? That’s what it feels like trying to navigate New Zealand’s stunning landscapes using spotty public Wi-Fi. Relying on unsecured cafe networks or ridiculously expensive roaming plans from back home can turn a dream holiday into a massive headache.
A prepaid New Zealand SIM card changes all that. It’s the modern traveller’s secret weapon.
This little piece of tech turns your smartphone into a local expert. No more desperately hunting for a Wi-Fi signal just to book a last-minute Hobbiton tour or call for an Uber. You’ve got reliable data right there in your pocket. It’s more than just convenient; it’s the freedom to be spontaneous.
This infographic really drives home how essential a local SIM is, making your phone the most indispensable tool for any Kiwi adventure.
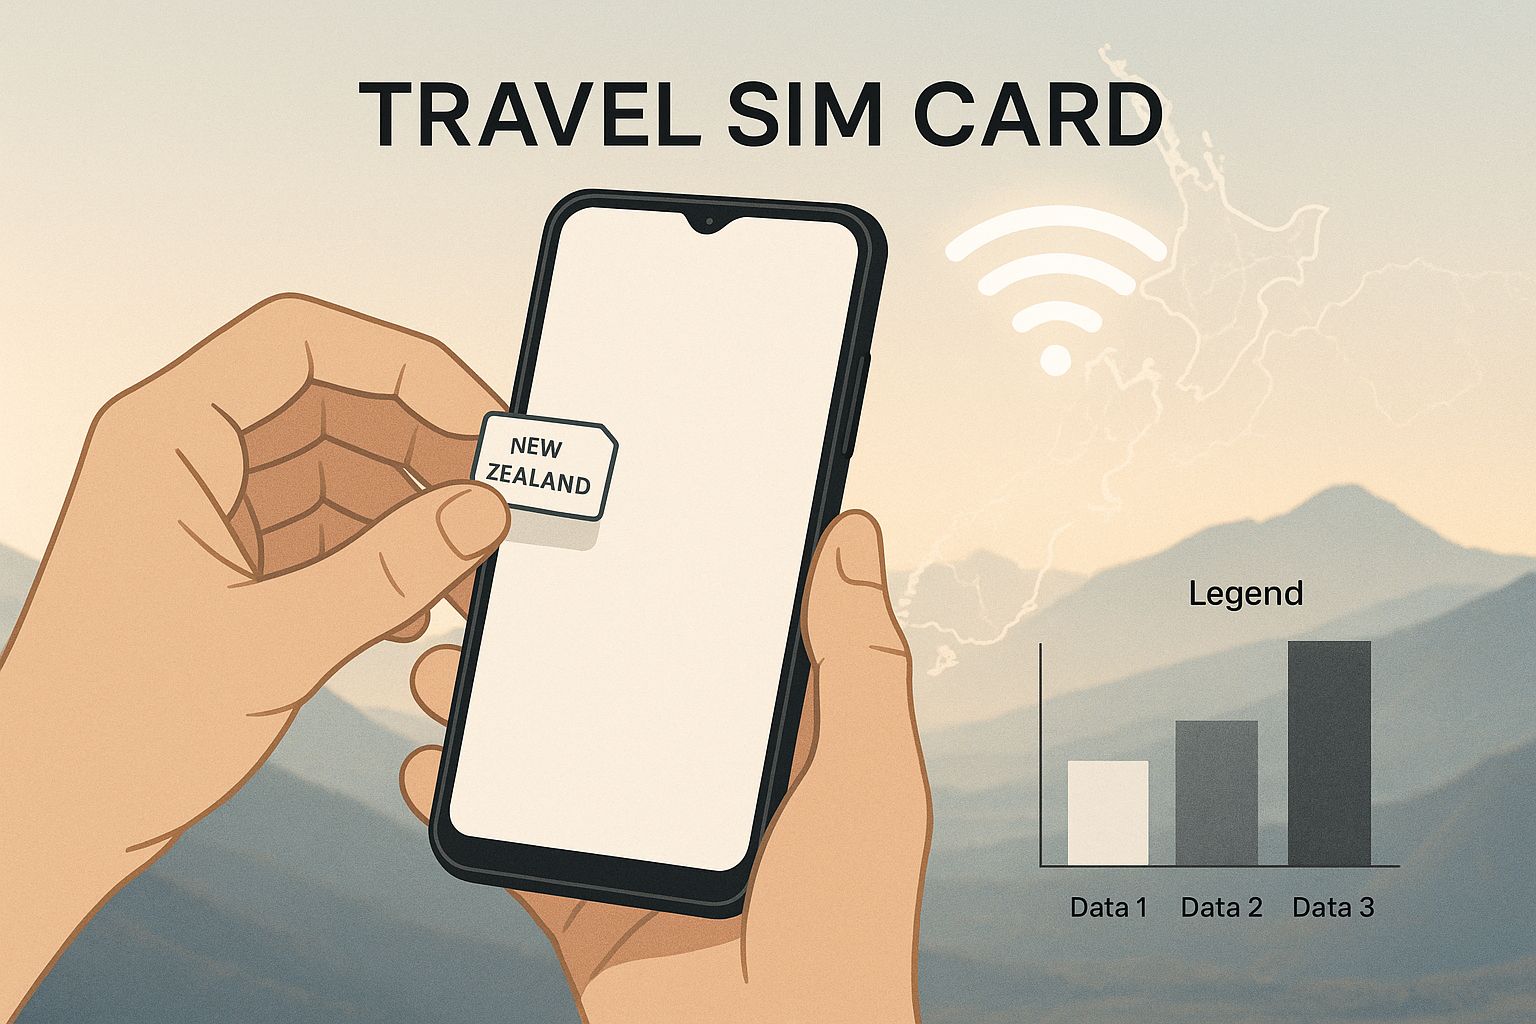
As you can see, a local SIM is what connects your travel plans with the reality of actually exploring New Zealand’s breathtaking scenery.
The Problem with Roaming and Public Wi-Fi
We’ve all heard the horror stories about international roaming plans. They’re notorious for their eye-watering costs. A few minutes using Google Maps or uploading some holiday snaps can lead to a nasty bill shock when you get home. Public Wi-Fi, while sometimes free, comes with its own set of dramas:
- Unreliable Connections: Public networks are often painfully slow and have a habit of dropping out, especially once you get out of the main city centres.
- Security Risks: Unsecured Wi-Fi hotspots are a playground for data thieves, putting your personal info like passwords and banking details at risk.
- Limited Availability: The moment you venture into a national park or a remote coastal town, that free Wi-Fi signal vanishes completely.
A prepaid local SIM card neatly sidesteps all these problems. It gives you a secure, private, and consistent connection that you’re in complete control of, making sure your digital life is both safe and always on, wherever your journey takes you.
The Freedom of Local Connectivity
With more people working remotely and travelling flexibly, having reliable mobile data has gone from a nice-to-have to an absolute must. The numbers back it up, too. Tourists and short-term travellers are expected to make up around 67.2% of the travel SIM market share by 2025, which just goes to show how many people are ditching traditional roaming.
At the end of the day, picking up a prepaid SIM isn’t just about saving a bit of cash; it's about making your entire trip better. If you want to dive deeper, we have a whole guide explaining why you should choose prepaid travel SIMs for your next trip. It gives you the confidence to explore, knowing you’ve got everything you need to navigate, stay in touch, and share your adventure every step of the way.
Comparing New Zealand's Top Mobile Providers

Alright, let's get into the nitty-gritty. Choosing a provider for your prepaid SIM card in New Zealand doesn’t have to be a headache. Think of it like picking the right hiking boots: one brand might be built for rugged, multi-day treks, while another is perfect for casual walks around town.
You’ve got three main players on the field here: Spark, One NZ (you might remember them as Vodafone), and 2degrees. Each one has its own strengths, and the best fit for you really depends on where your Kiwi adventure will take you.
The mobile market here is robust and competitive. In a country of just over 5.1 million people, there were roughly 6,562,000 mobile subscriptions in 2023. That tells you just how connected New Zealand is, which is great news for travellers looking for reliable service. You can dig into more of New Zealand's mobile market statistics here if you're curious.
Spark: The Rural Coverage Champion
If your itinerary looks like a page out of National Geographic—we’re talking deep into Fiordland, exploring the wild Catlins coast, or tackling the remote West Coast—then Spark is almost always the best bet. They’ve built their reputation on having the most extensive and reliable network in the back-of-beyond.
That extra reach means you're far more likely to get a signal when you're looking up directions to a hidden waterfall or checking the weather before a big tramp. Sure, their plans can sometimes be a few dollars more, but for that peace of mind when you're truly off the grid, it's often money well spent.
Spark’s travel packs are designed specifically for visitors, usually bundling data, local calls, and international minutes into a deal valid for up to 90 days. A popular tourist plan, for example, might give you 10GB of data for around $49 NZD, which is a solid option for longer trips.
One NZ: The Urban All-Rounder
One NZ, the network formerly known as Vodafone, is a heavyweight contender with coverage that’s hot on Spark’s heels. It offers fantastic, high-speed performance in cities, towns, and along all the main tourist highways. For most travellers, it’s a brilliant all-round choice.
So if you’re planning to stick to the main hubs like Auckland, Wellington, and Queenstown, with drives along the major State Highways, One NZ will serve you perfectly. Their data speeds are consistently zippy, which is great for streaming, making video calls home, or uploading all those holiday snaps without a fuss.
Key Takeaway: While Spark generally wins in the most remote corners of the country, the real-world difference between Spark and One NZ is pretty minimal for the average tourist. Often, your choice will just come down to who has the better deal on the day you land.
Their prepaid plans are always competitively priced, often with generous data allowances. They're also a particularly good shout if you need to call or text friends and family in Australia, as many of their plans include calls to Aussie numbers.
2degrees: The Value-Focused Challenger
For the traveller counting every dollar, 2degrees is a seriously attractive option. As the third major player, they often compete on price, dishing out some of the best value-for-money prepaid plans you can find. If you’re mostly staying in cities and bigger towns, their network is more than up to the task.
But, there is a trade-off to be aware of. The 2degrees network doesn't have the same massive footprint as its competitors. They do have roaming agreements to use One NZ’s network in areas they don't cover, but you might still hit more dead zones if you venture into the wop-wops.
Their plans are simple, straightforward, and give you a lot of data for your dollar. This has made them a huge hit with backpackers and anyone on a tight budget. A typical plan from 2degrees could get you 3GB of data for about $30 NZD, usually with calls and texts thrown in.
Quick Comparison of New Zealand Mobile Providers
To help you see it all at a glance, we've put together a simple table comparing the big three.
| Provider | Best For | Coverage Strength | Typical Tourist Plan Price Range (NZD) |
|---|---|---|---|
| Spark | Rural and remote adventures | Widest national coverage, especially outside cities. | $49 - $79 |
| One NZ | Urban exploring and main routes | Excellent in cities and along major highways. | $29 - $99 |
| 2degrees | Budget-conscious travellers | Good in urban areas, relies on roaming elsewhere. | $19 - $50 |
Ultimately, the right SIM card for you comes down to your travel style. Have a look at your itinerary, figure out how much you’ll rely on having a signal in the middle of nowhere, and pick the provider that best matches your adventure.
How to Buy Your Prepaid New Zealand SIM Card
Now that you've got a better idea of which mobile provider fits your travel style, the next step is actually getting your hands on one. The good news? It's a remarkably simple process. You’ll find prepaid New Zealand SIM cards in plenty of convenient spots once you know where to look.
Think of it like grabbing a bottle of water after a long flight—you just want it to be quick, easy, and accessible. You don't have to jump through hoops or provide mountains of paperwork. For most prepaid SIMs, you won’t even need to flash your passport, which makes the whole thing refreshingly straightforward.
Where to Find Your SIM Card
While your first instinct might be to grab a SIM the moment you step off the plane, the airport isn't always your best bet. Sure, major hubs like Auckland and Christchurch have kiosks for providers like Spark and One NZ, but they often push more expensive tourist packages. You'll usually find much better value and more variety by waiting until you're in town.
Instead, your best bet is to head to one of the many shops you'll find in every city and town.
- Supermarkets: Big chains like Countdown, New World, and Pak'nSAVE are perfect places to buy a SIM. You can just add one to your basket while you're stocking up on snacks for your road trip.
- Convenience Stores and Dairies: Local convenience stores, known as "dairies" in New Zealand, almost always have SIM cards from the major providers sitting right at the counter.
- Official Provider Stores: For the biggest selection of plans and some hands-on help, popping into an official Spark, One NZ, or 2degrees store in a city centre or shopping mall is a great move. The staff there can help you pick the right plan and even get it working for you on the spot.
- Petrol Stations: Major petrol stations like Z and BP often carry starter packs, which is a lifesaver if you realise you need a SIM midway through your journey.
This wide availability means you’re never far from getting connected. For a deeper dive into what to look for, our guide on how to choose the right travel SIM card has some valuable tips that apply no matter where you're headed.
The Purchasing Process Explained
Walking into a store to buy your prepaid SIM is a completely hassle-free experience. The process is designed to be quick so you can get on with your holiday.
All you have to do is go to the counter and ask for a prepaid SIM starter pack from your chosen provider. The initial cost for the SIM card itself is usually very low—often around $5 NZD, and sometimes it’s even free when you buy it with a prepaid plan.
The real decision is choosing the right plan, or "top-up." Prepaid plans in New Zealand are very competitive, typically costing between $20 NZD and $50 NZD, depending on how much data and calling you need. With the market dominated by Spark, One NZ, and 2degrees, you can easily find these options at most convenience stores, supermarkets, and official retail outlets.
Pro Tip: When you buy your SIM, just ask the staff to help you activate it. If you're in an official provider store, they'll almost always offer to do it for you. They’ll pop the SIM in, get the plan running, and make sure everything is working properly before you walk out the door.
This simple step takes all the technical stress out of the equation and gets you connected straight away. Just remember to make sure your phone is unlocked before you leave home, as a New Zealand SIM won't work in a device that's locked to your provider back home. Follow these steps, and you'll be online and ready to explore in no time.
Choosing Between a Physical SIM and an eSIM
Think of it this way: a physical SIM card is like a traditional hotel room key. It’s a tangible little card you get at the front desk that unlocks your room. An eSIM, on the other hand, is like getting a digital key sent to your phone before you even arrive. Both get you through the door, but how you get them is completely different.
Deciding between the two really comes down to what you value most: activation speed, phone compatibility, or the sheer ease of swapping between plans. Let’s break it down so you can figure out what’s best for your travel style.
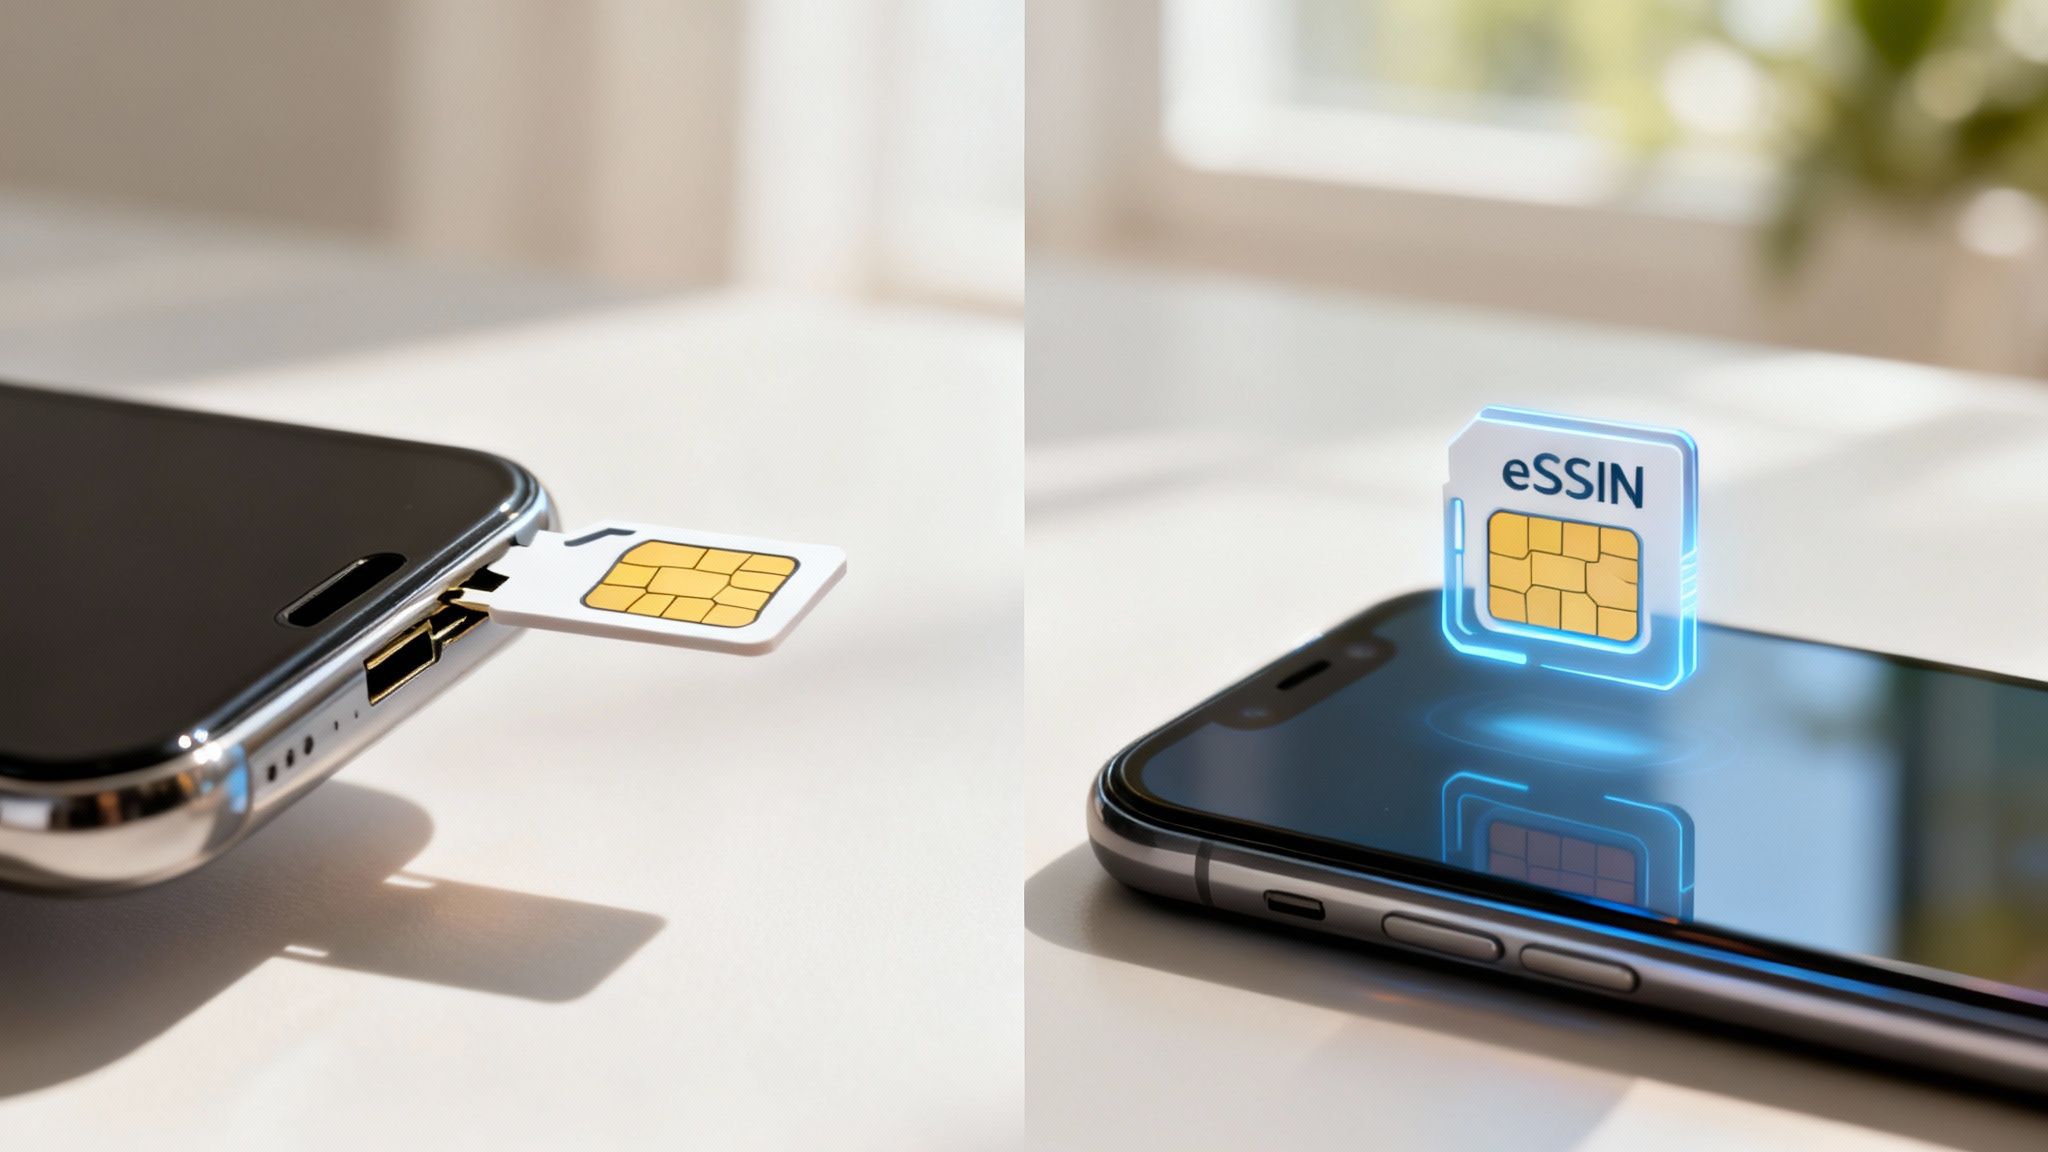
- A physical SIM is a tiny chip you pop into your phone.
- An eSIM is a digital profile you download straight to your device.
- Physical SIMs work in almost any unlocked phone.
- An eSIM can get you online instantly, as long as your phone supports it.
Checking Phone Compatibility
First things first, does your phone even support an eSIM? Most newer models from Apple, Samsung, and Google do. If your phone is unlocked and you bought it in Australia, you're probably all set.
But if you’re rocking an older phone or just aren’t sure, a physical SIM is a safe bet. It works in pretty much any unlocked phone, no matter how old it is. A quick check in your phone's settings or on the manufacturer's website will tell you what you need to know and save you a headache at the airport.
For a deeper dive into how the tech works, check out our guide on What Is an eSIM. It'll help you decide if a digital key is the right fit for your phone.
Convenience of Activation
When it comes to getting set up, the two could not be more different. The physical SIM is a hands-on process, while the eSIM is all digital.
Physical SIM Activation
- Pop into a local shop or find a kiosk at the airport.
- Slide the new SIM card into your phone’s SIM tray.
- Follow the prompts on your screen to get it registered.
- You might need to give your phone a quick restart.
eSIM Activation
- Buy your plan online from anywhere, even before you leave home.
- Scan the QR code that gets emailed to you.
- Your phone will automatically install the profile.
- Just select the new plan in your mobile settings, and you're good to go.
"An eSIM lets you switch carriers in minutes without any hardware. It’s the ultimate convenience for globetrotters." – Senior Network Engineer
Maintaining Connections Abroad
This is where your travel plans really come into play. A physical SIM is your reliable old friend, especially in more remote spots. If you're planning a road trip through the countryside or hiking off-the-beaten-path, that tangible card is often your safest bet for a solid signal. The only downside? Juggling multiple SIMs can feel like carrying a pocketful of tiny, easy-to-lose stamps.
An eSIM, however, lets you store multiple profiles on one device. This is a game-changer. You can keep your Aussie number active for calls and texts from home while using your New Zealand plan for all your data needs. It’s the best of both worlds, with no physical swapping required.
Tips for Smooth Travel Connectivity:
- Give each eSIM profile a clear name in your settings (e.g., "NZ Data Plan").
- Keep a screenshot of your activation QR codes, just in case.
- Pop the plan's expiry date into your calendar so you don't get caught out.
- If you’re heading way out into the wop-wops, maybe pack a backup physical SIM just to be safe.
Considering Costs and Plans
Budget is always a factor, right? A physical SIM often comes with a one-off purchase fee of around $5, with data top-ups starting from $20. In contrast, you can find eSIMs that start as low as $4 for smaller data packs. If you only need a couple of gigabytes for maps and messaging, an eSIM could save you up to 50% on upfront costs.
- Physical SIMs often have that initial activation fee.
- Local providers offer various data bundles in-store.
- eSIM deals on SimCorner often come with no extra roaming charges.
- Look out for special tourist packs that bundle data with call minutes.
It’s definitely something to think about if you're watching your dollars.
Which Option Fits Your Adventure
So, what's the final verdict?
For city-centric adventures in Auckland or Wellington, the instant eSIM activation is a clear winner. It’s fast, and there's zero fuss when you land. But for those rugged South Island trails or if you're using a phone from a few years back, a physical SIM is the dependable choice that guarantees a signal almost anywhere.
Ultimately, it all comes down to your phone, your itinerary, and how much you mind fiddling with tiny bits of plastic. By understanding what each option brings to the table, you can make sure your New Zealand journey stays connected from start to finish.
Right, you've picked out your prepaid New Zealand SIM card. Good on you! Now for the last little bit before you can get back to planning your adventures.
Getting your new SIM up and running is dead simple, whether you've gone for a classic physical card or a slick new eSIM. Think of it as the final check before you hit the road. It’s not some tech-heavy task, just a quick final step. Let's walk through how to activate both types, what to do if it doesn't work right away, and how to keep tabs on your data so you don't get caught out.
Getting Your Physical SIM Card Working
Activating a physical SIM card is a hands-on but super quick job. You’ll go from a sealed packet to a fully connected phone in just a couple of minutes. Here’s how it's done.
- Phone Off: First things first, switch your phone off completely.
- Find the SIM Tray: Grab the little metal tool that came with your phone (a paperclip works in a pinch) and gently pop open the SIM tray, which is usually on the side.
- Slot in the New SIM: Pop your new prepaid New Zealand SIM into the tray. Most SIMs these days are a three-in-one deal (standard, micro, and nano), so just punch out the size that fits your phone.
- Power Up: Turn your phone back on. It should automatically find the new network and connect within a minute or so.
If it doesn't connect straight away, don't stress. A quick restart is usually all it takes to get things talking. This simple trick sorts out the problem more than 90% of the time.
Activating Your eSIM Instantly
Getting an eSIM going is all digital and feels a bit like magic. The best part? You can often get this sorted before you even leave home.
An eSIM is your digital ticket to getting online. Instead of a physical card, you just install a network profile onto your phone by scanning a QR code. This means you can be connected the second your flight touches down in New Zealand.
The steps are even easier than with a physical card:
- Check Your Email: Once you buy your eSIM online, you’ll get an email with a QR code.
- Scan the Code: Head to your phone’s mobile data or cellular settings and choose "Add eSIM" or "Add Cellular Plan." Your phone's camera will pop up, ready for you to scan that QR code.
- Follow the Steps: Your phone will walk you through the last couple of prompts to finish the installation. It really is that easy.
Managing Your Plan and Checking Your Balance
Once you’re connected, keeping an eye on your plan is key to avoiding any nasty surprises. The easiest way to do this is with your provider's app, which you can download from the App Store or Google Play.
These apps are basically the command centre for your prepaid plan. They let you:
- Check Your Data: See exactly how much data you’ve got left with a quick glance.
- Track Usage: Get a proper breakdown of your data, call, and text history.
- Top Up Your Plan: Need more data? You can easily buy more or add credit right there in the app with your credit card.
As another option, most providers have a quick dial code (like *888#) that sends you an instant balance update via text. With these tools handy, you're in total control of your prepaid New Zealand SIM, ensuring you stay connected for your whole trip.
Smart Tips for Using Your NZ SIM Card
Okay, so you're all set up with your new NZ SIM card. Now the real adventure can kick off. Think of your prepaid SIM as your ticket to freedom, but a few clever habits will help you get the most out of your data, keeping you connected when you really need it.
Your data plan is a bit like the petrol in your rental car – you don't want to run out halfway down a remote gravel road. By being a little strategic, you can explore more and stress less about finding a place to top up. These are the tips and tricks that seasoned travellers live by.
Navigate Without Using Data
Your phone's GPS is probably your most valuable travel buddy, but it doesn't have to drain your data. Before you head off into the wilder parts of the country, like the breathtaking Catlins coast or the winding roads of the Coromandel Peninsula, get your maps downloaded for offline use.
- Google Maps: Just find the area you're heading to, type "ok maps" into the search bar, and hit download. It's that simple.
- Maps.me: This is a brilliant alternative built specifically for offline navigation. It often has more detailed hiking and walking tracks, which is perfect for any keen trampers.
Doing this means you can get turn-by-turn directions even when you've got zero reception, saving your data for more important things, like looking up the best local pie shop or booking your next activity.
Here's a pro tip for any Kiwi road trip: expect the dead zones. Places like Fiordland National Park and parts of the West Coast are famous for having patchy (or non-existent) mobile coverage. Plan ahead by downloading everything you might need—maps, playlists, podcasts—before you leave civilisation behind.
Master Your Mobile Hotspot
Your phone isn't just a phone anymore; it can also become your personal Wi-Fi hub for other gadgets. This is called tethering, or creating a personal hotspot. It's incredibly handy for getting your laptop online to book a hotel or backing up your day's photos from your tablet to the cloud.
Just be aware that tethering can chew through data at a surprising rate, especially if your computer decides it's a good time to run background updates. Use it for the important stuff, then flick it off to keep your data plan healthy.
Find Reliable Free Public Wi-Fi
To really make your data allowance last, get friendly with New Zealand's free public Wi-Fi networks. They're often more reliable than you'd expect and pop up in some very convenient places.
Local libraries are a goldmine for a solid connection, and you'll find one in almost every town. Another fantastic resource is the nationwide network of i-SITE visitor information centres. Not only do they offer free Wi-Fi, but the staff are full of priceless local advice for your travels.
Frequently Asked Questions About NZ SIM Cards
Diving into the world of travel SIMs for the first time? It’s normal to have a few questions. Let's run through some of the most common queries travellers have before they head off to New Zealand, so you can feel completely sorted before you go.
Can I Buy a New Zealand SIM Card Before I Arrive?
Yes, you absolutely can, and honestly, it’s one of the best things you can do to make your arrival seamless. Instead of hunting for a phone store at the airport, you can get connected the second you land.
Your two main options are grabbing an eSIM online or getting a physical SIM card posted to your home before you leave.
An eSIM is basically a digital SIM profile that you download straight to your phone. It's ridiculously convenient – you can buy it and set it up from your couch in Australia, then switch it on the moment you touch down in Auckland or Queenstown.
If you’re a bit more old-school or your phone doesn’t support eSIMs, getting a physical SIM sent to you is the way to go. Either way, you get to skip the airport queues and start your adventure right away.
How Much Data Do I Really Need for My Trip?
Figuring out your data needs is simpler than it seems. It really just comes down to your travel style. Are you the type to just use Google Maps and WhatsApp, or will you be uploading every single holiday snap to Instagram?
Here’s a quick guide to help you pick the right plan:
- Light User (up to 5GB for 1-2 weeks): This is perfect if you’re mainly using data for maps, the odd social media check, and messaging apps.
- Moderate User (10GB-20GB for 2-3 weeks): A great middle-ground if you plan to stream music on road trips, make a few video calls back home, and regularly share photos and videos.
- Heavy User (40GB+ for a month or longer): Go for this if you’re working remotely, sharing your connection with a laptop, or plan on streaming movies in the evenings.
A good rule of thumb is that you can always top up if you run low. It’s often better to start with a realistic plan and add more later than to pay for a massive chunk of data you’ll never get through.
Will My Phone Work in New Zealand?
This is a big one. For any New Zealand prepaid SIM to work, your phone has to be ‘unlocked’.
Think of a locked phone as being loyal to one network – it will only work with a SIM from the provider you bought it from. An unlocked phone, on the other hand, is a free agent; it’ll happily accept a SIM from any provider around the world.
Most phones sold outright in Australia are already unlocked. If you got yours on a contract, though, it’s definitely worth checking. The easiest way to be sure is to give your home provider a quick call. They can tell you if it's locked and sort out unlocking it for you. Getting this done before you travel is a non-negotiable for a hassle-free trip.
Stay connected effortlessly on your Kiwi adventure. SimCorner has a whole range of prepaid SIMs and eSIMs for New Zealand, making sure you get reliable data without breaking the bank. Order online today and travel with confidence. Find your perfect plan at https://simcorner.com.


