
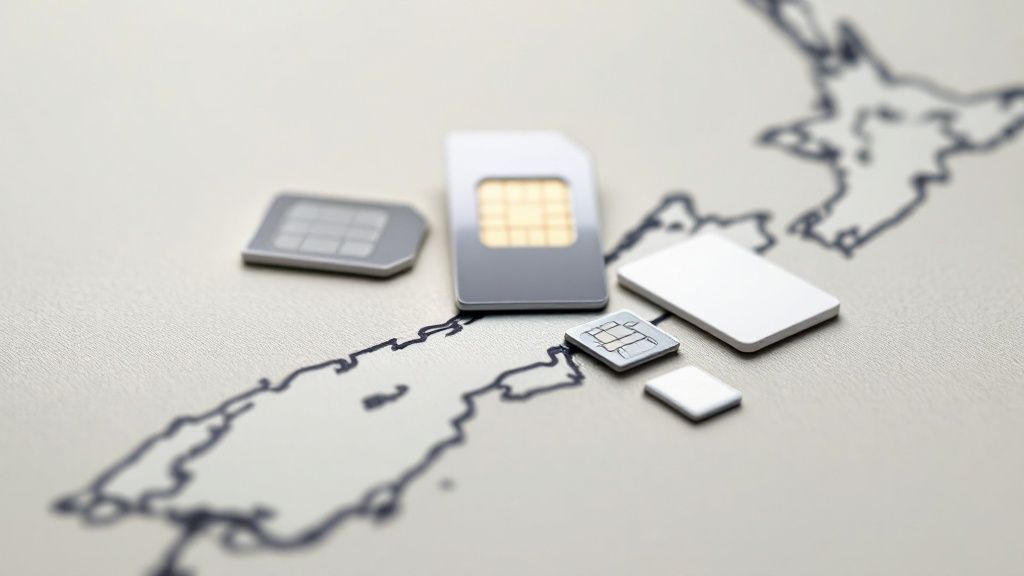
Kia ora and welcome to Aotearoa! If you're planning an adventure across New Zealand's jaw-dropping landscapes, a local prepaid SIM card is going to be your new best friend. Trust me, relying on your provider from back home for international roaming is a fast track to a shockingly high bill, and nobody wants that kind of souvenir.
Why a Local SIM Is Your Best Bet
Picture this: you're standing at the base of Aoraki/Mount Cook, about to share a photo that will make all your friends jealous, and then... "no service." Or worse, the nagging fear of what that upload will cost you. A local prepaid SIM card in New Zealand completely sidesteps this classic travel headache. It’s the cheapest, most reliable way to stay online.
Think of it as your digital key to the country. A local SIM gives you instant access to high-speed data for a fraction of what you'd pay in roaming fees. And it's not just for Instagram—it's about making your trip smoother and stress-free.
The Real-World Perks of Staying Connected
Having data you can count on completely changes how you travel. No more hunting for patchy cafe Wi-Fi. You can use your GPS to navigate winding roads, book a last-minute hotel, or check the hours for that remote pie shop you heard about. It's a safety net, too, giving you the peace of mind that you can call for help or get in touch with family whenever you need to.
Here’s what you really gain:
- Total Cost Control: You pay a set price for a bundle of data, calls, and texts. No nasty surprises on your bill when you get home.
- Proper Coverage: Local networks offer the best reception, which is a lifesaver when you're exploring New Zealand's rugged national parks and coastlines.
- Seamless Navigation: Use Google Maps or Waze in real-time to find those hidden gems without having to pre-download clunky offline maps.
- On-the-Go Planning: Hear about a cool local event? Change your plans on a whim by booking tours, transport, and activities right from your phone.
Before you can pop in a new SIM, there’s one crucial step: make sure you’re using an unlocked phone. An unlocked phone isn't tied to any single carrier, which gives you the freedom to use a SIM card from any provider, anywhere in the world.
Right then, let's talk about picking a mobile provider for your trip to New Zealand. It’s a bit like choosing the right pair of hiking boots. Sure, the cheapest ones look tempting on the shelf, but you'll regret it when you're halfway through a trek in a remote national park and your feet are killing you. The same logic applies here—your choice of provider directly impacts whether you'll have a signal when you leave the main cities.
New Zealand's mobile scene is pretty much run by three main players: Spark, One NZ (which used to be Vodafone), and 2degrees. Each has its own pros and cons, and knowing the difference can be a game-changer depending on where your adventures are headed.
The Big Three Mobile Networks
Think of Spark as the rugged 4WD of the bunch. It has the most extensive network coverage in the country, hands down. If you're planning to explore places like Fiordland National Park or the wild West Coast, Spark's superior reach is what you need. It pushes a signal into those rural, remote corners where others just give up.
One NZ is more like a reliable sedan. It gives you solid performance and fantastic coverage in cities and along the main highways. For most travellers sticking to the popular tourist routes, it's a dependable choice that won't let you down. Its rural coverage is decent, but it doesn't quite have the reach that Spark does.
Finally, you've got 2degrees, the zippy city car. It’s known for competitive prices and great service in the big urban centres like Auckland, Wellington, and Christchurch. But, its network is the smallest of the three. Once you venture into the countryside, you might find your signal dropping off more often.
This infographic breaks down how the data, costs, and providers stack up for a traveller.
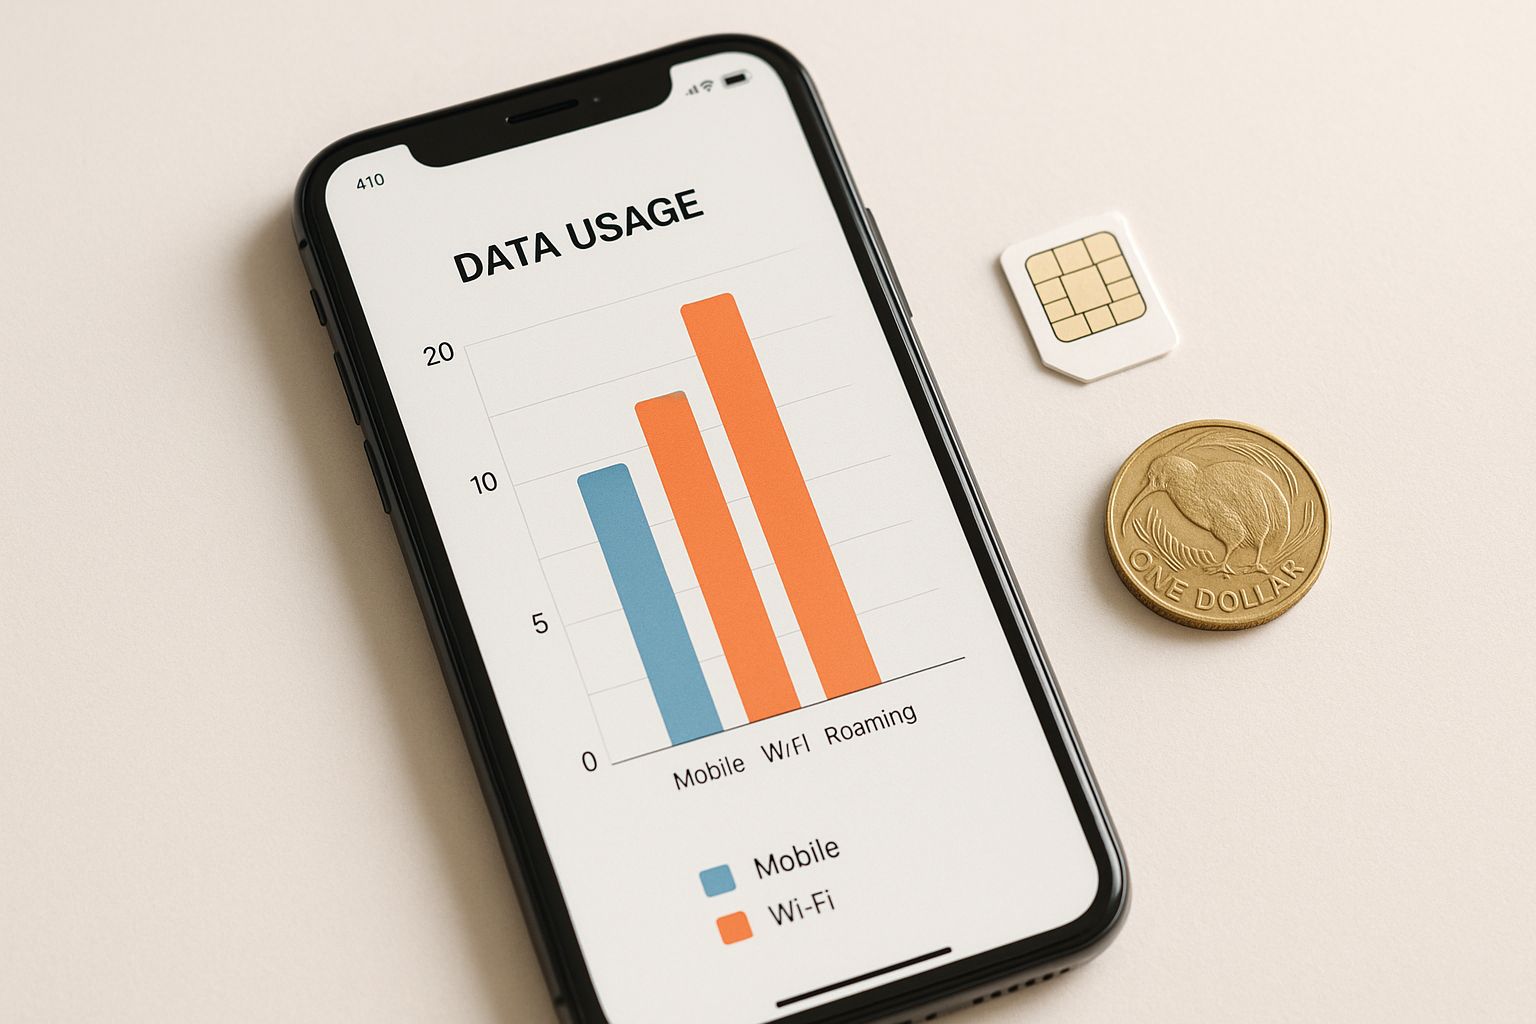
As you can see, there's often a trade-off between how much you pay and how far your signal will stretch. It really helps you balance your budget against your need to stay connected.
To make it even clearer, here’s a quick rundown of what to expect from each.
New Zealand Mobile Provider Snapshot
| Provider | Best For | Typical Prepaid Cost (NZD) | Network Strength |
|---|---|---|---|
| Spark | Travellers heading to remote or rural areas | $20 - $50+ | Best overall coverage, especially outside of cities. |
| One NZ | Most travellers sticking to cities & main roads | $20 - $50+ | Excellent in urban areas, with strong highway coverage. |
| 2degrees | Budget-conscious travellers staying in cities | $20 - $40+ | Great in major cities but limited in rural spots. |
This table should give you a good at-a-glance idea of which provider might suit your travel style best.
What to Expect for Prepaid Plan Costs
Let's get into the nitty-gritty: pricing. For tourists and short-term visitors, you'll generally be looking at prepaid plans that fall somewhere between NZD $20 and NZD $50.
A basic plan around the NZD $20–$25 mark will typically get you 1.5GB to 3GB of data. This is perfect if you’re a light user just needing maps and the odd message.
For a bit more breathing room, the mid-range options at NZD $30–$35 give you a much more comfortable 5GB to 10GB. This is usually the sweet spot for most travellers who are regularly using Google Maps, posting on social media, and doing some light browsing.
If you’re a heavy data user, plans in the NZD $40–$50 range can offer up to 40GB of data and sometimes throw in extras like international calling minutes. Just remember that Spark's plans might be a touch more expensive, but you're paying that small premium for their unmatched coverage. For a deeper dive into pricing, you can find more great info on New Zealand SIM card costs on thebitjoy.com.
Key Takeaway: Don't just look at the price tag. Match your provider to your travel plans. If you're staying in cities, any of the three will do. If you're heading into the wild, investing in a provider with stronger rural coverage like Spark is well worth it.
At the end of the day, the "best" provider is the one that fits your trip. By weighing up coverage against cost and thinking about your own data habits, you can pick a plan that keeps you connected without any headaches.
Getting to Grips with Prepaid Plan Costs and Data Value
Let's be straight up about it: when you first look at a prepaid SIM card in New Zealand, you might feel the data allowances are a bit on the stingy side, especially compared to what you're used to back home. Data is definitely a premium commodity here, so understanding the real value you’re getting is the key to not getting frustrated.
It’s easy to get caught up in plan names and marketing fluff. The only thing that really matters is the cost per gigabyte (GB). This simple bit of maths cuts right through the noise and tells you exactly what your dollars are buying, making it easy to compare plans properly.
What Your Money Actually Buys You
To give you a real-world idea, let’s break down a common price point. A typical NZD $30 prepaid plan will usually get you a fairly modest amount of data. For instance, Spark might offer around 4GB, while One NZ and 2degrees often hover closer to 3GB for the same price.
That works out to be around $5 to $6 USD per gigabyte—a fair bit higher than what you’d pay in many other travel hotspots. This pricing really comes down to the unique challenges of providing coverage across New Zealand's rugged terrain to a relatively small population. If you want a deeper dive into how these costs stack up, Tom has some great info on his blog where you can discover more insights about New Zealand's mobile data pricing on traveltomtom.net.
Key Insight: Don't just look at the total plan cost. Always calculate the price you're paying per gigabyte to see which provider offers the best actual value for your data needs. A slightly more expensive plan might offer significantly more data, making it the smarter choice.
So, how do you pick the right one? It really comes down to your travel style. If you’re sticking to cities and mostly just need maps and messaging, a smaller, cheaper plan will do the trick. But if you’re planning an epic road trip and will be relying on your phone for everything from navigation and entertainment to booking campsites, you’ll want to invest in a bigger data bundle.
Here’s a quick guide to the common tiers you'll find:
- Budget Tier (around $20 NZD): Expect 1.5-2GB of data. This is really only for the lightest of users who plan to be on Wi-Fi most of the time.
- Mid-Range Tier ($30-$40 NZD): This is the sweet spot for most travellers, offering 3-8GB of data for regular navigation, social media, and a bit of browsing.
- High-Usage Tier ($50+ NZD): For the data-hungry traveller, these plans can offer 40GB or even more. Perfect if you’re streaming, hotspotting, or working while on the road.
The Rise of eSIMs for New Zealand Travel
Imagine this: you land in Queenstown, step off the plane, and your phone instantly connects to the local network. No fumbling with tiny plastic cards, no hunting for a shop. This isn't a glimpse into the future; it's the reality of using an eSIM for your trip to New Zealand.
An eSIM, or embedded SIM, is just a digital version of the traditional SIM card that’s already built into your phone. Instead of physically swapping cards, you simply download your travel data plan. This tech is a game-changer for international visitors, making it easier than ever to get a prepaid SIM card in New Zealand. It even lets you keep your regular home SIM active for calls and texts, while using the eSIM for all your local data needs.
Why Travellers Are Choosing eSIMs
The biggest drawcard is immediate, hassle-free connection. You can buy and install your New Zealand data plan from your living room before you've even packed your suitcase. The moment you land, you just switch it on, and you’re online. That completely sidesteps the need to search for a telco kiosk at the airport after a long-haul flight.
While physical SIMs are still around, many travellers now prefer the sheer convenience of eSIMs. They’re often great value, too, giving you more data for your dollar. For example, some providers offer plans with 15GB of data for around $24 USD, which can be a much better deal than local options. New Zealand's solid 4G and growing 5G network makes it a breeze, with city speeds often averaging 25-35 Mbps. You can learn more about New Zealand's eSIM landscape and data speeds on esim.net.
Key Advantage: With an eSIM, you can land and immediately use apps like Uber or Google Maps to navigate your way from the airport. There’s no waiting in line or fiddling with SIM ejector tools.
Checking Compatibility and Getting Started
Before you jump on the eSIM bandwagon, you’ll need to check if your phone supports the technology. It’s pretty standard these days. Most smartphones released in the last few years—like the iPhone 11 series and newer, Google Pixel 3 and up, and recent Samsung Galaxy models—are all eSIM compatible. A quick Google search for your phone's model and "eSIM compatibility" will give you a definite answer.
Once you’ve confirmed, the rest is simple:
- Choose a Provider: Find an international eSIM provider that has plans for New Zealand.
- Purchase Your Plan: Buy a data package that fits the length of your trip and how much you think you'll use.
- Install the eSIM: You'll get a QR code sent to your email. Just scan it with your phone's camera, and the plan will install itself.
This digital approach offers incredible flexibility and is fast becoming the new standard for savvy travellers. If you want a more detailed look at how it all works, you can check out our guide on what an eSIM is and how it can benefit your travels.
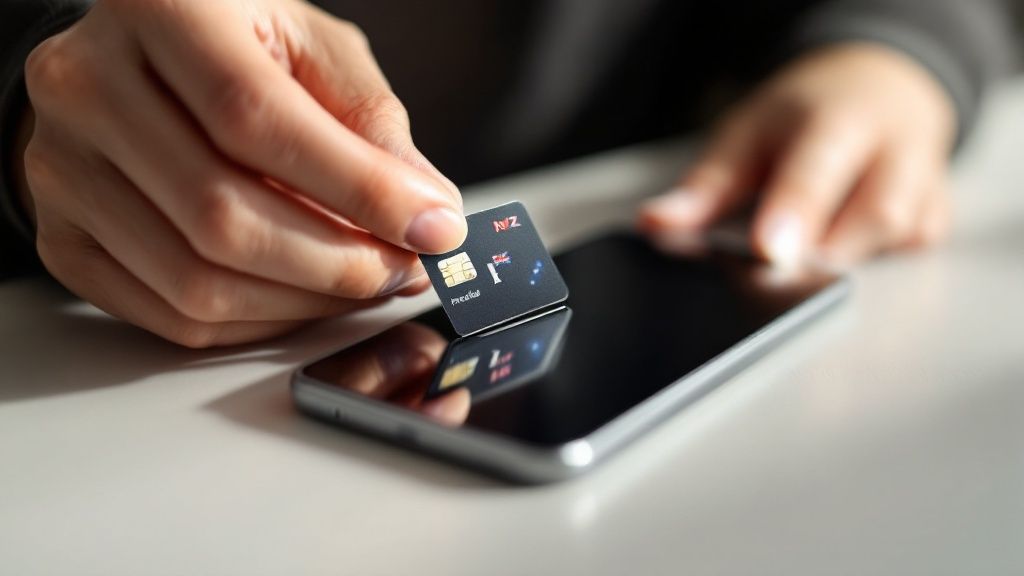
How to Buy and Activate Your New Zealand SIM Card
Alright, you've got a good handle on the providers and what they offer. Now for the fun part: actually getting your prepaid SIM card in New Zealand and bringing it to life. The great news is this process is dead simple, with plenty of options waiting for you the second you land.
Your first, and honestly easiest, chance to get connected is right at the airport. Major hubs like Auckland (AKL), Christchurch (CHC), and Queenstown (ZQN) all have kiosks for Spark, One NZ, and 2degrees sitting right in the arrivals hall. It’s a brilliant setup—you can get sorted before you even step outside.
Where to Purchase Your SIM Card
If you'd rather wait until you get into town, you'll find SIM cards are just about everywhere. It's like buying a bottle of water; you’re never too far from one.
- Official Provider Stores: Popping into a dedicated Spark, One NZ, or 2degrees shop is your best bet for expert advice. The staff there live and breathe this stuff and can help you activate it on the spot.
- Supermarkets: Big chains like Countdown, New World, and Pak'nSave usually have SIM starter packs hanging in the checkout aisles. Super handy if you're already doing a grocery run.
- Convenience Stores and Dairies: Local corner stores (what Kiwis call "dairies") and petrol stations are also stocked up, making it easy to grab one while you're out and about.
A Quick Note on ID: Unlike some countries that make you jump through hoops, buying a prepaid SIM in New Zealand as a tourist is a breeze. While the official provider stores might ask for a look at your passport to register the card, most supermarkets and dairies will sell you a starter pack with no ID required at all.
Activating Your New SIM Card Step-by-Step
Got your SIM? Awesome. Getting it working is a quick DIY job that usually takes less than five minutes.
- Find Your SIM Tray: Grab a SIM ejector tool (there's often one in the SIM pack or with your phone) or just a simple paperclip to pop open the SIM tray on your smartphone.
- Insert the New SIM: Gently pop the correct-sized SIM out of its plastic card—it will be a nano, micro, or standard size. Place it in the tray, make sure it’s sitting flat, and slide it back into your phone.
- Power Up: Turn your phone back on. It should automatically pick up the new network, and you'll see the provider's name (like Spark NZ) appear at the top of your screen.
- Follow the Prompts: Most of the time, the SIM activates itself automatically. Occasionally, you might need to open your web browser, which will take you to an activation page, or call a toll-free number printed on the packaging to finish the job.
And that’s all there is to it! You’re all set to use your data, make calls, and start exploring New Zealand with a reliable connection. For a deeper dive, check out our guide on the 7-step SIM card selection checklist to make sure you've picked the absolute perfect plan for your trip.
Practical Tips for Managing Your Data Usage
Okay, so you've got your New Zealand prepaid SIM sorted. That’s the first step. But the real trick is making that data last your entire trip. It's surprisingly easy to burn through your gigabytes when you're navigating new roads, streaming music on a long drive, and uploading photos of those incredible views.
Think of your data plan like the petrol in a rental car. You need to make sure you have enough to get between towns without sputtering to a halt on a remote road. Being smart with your data doesn't mean you have to disconnect entirely; it just means using it when it really counts, like finding that hidden cafe in Queenstown or checking DOC campsite availability on the fly.
Monitor Your Usage Like a Pro
The best way to stay in control is to know where your data is actually going. Thankfully, modern smartphones make this super simple. Both iPhones and Androids have built-in tools that show you exactly which apps are the biggest data hogs, letting you pinpoint the culprits.
- On iPhone: Just head to Settings > Mobile. If you scroll down, you'll see a neat list of all your apps with their data consumption right underneath.
- On Android: It's a similar process. Go to Settings > Network & internet > Mobile network > App data usage to see the same kind of breakdown.
Simple Tricks to Conserve Mobile Data
A few tiny adjustments can make a massive difference to how long your data bundle lasts. Before you even step out of your hotel or leave that sweet, free Wi-Fi behind, get these things done.
Download offline maps on Google Maps for the regions you’ll be driving through. This is a game-changer, giving you full GPS navigation without using a single megabyte of your precious mobile data. While you're at it, download your road trip playlists and podcasts from Spotify or Apple Music.
Pro Tip: Many apps love to sip data in the background without you even knowing it. Dive into your phone's settings and turn off 'background app refresh' for anything non-essential. This alone can plug a significant, hidden data drain.
By being a little strategic, you can explore New Zealand without constantly stressing about your data balance. It also helps to know what you can realistically do with a certain amount of data. Our guide can help you visualise how much you can do with 10GB while travelling.
Got Questions About NZ SIM Cards?
We get it—figuring out travel SIMs can bring up a few last-minute questions. Here are some quick, straight-to-the-point answers to the most common things people ask about grabbing a prepaid SIM card in New Zealand, so you can finalise your plans feeling totally confident.
Can I Just Buy a SIM Card at a New Zealand Airport?
Yes, absolutely. This is probably the easiest way to get connected the moment you touch down. Major international airports like Auckland (AKL), Wellington (WLG), and Christchurch (CHC) have kiosks for Spark, One NZ, and 2degrees waiting for you right in the arrivals hall.
Will My Phone Actually Work in New Zealand?
For the most part, yes. Most modern smartphones from around the world play nicely with New Zealand's mobile networks. You just need to be sure of two things:
- Your phone must be 'unlocked', meaning it isn't tied to your provider back home.
- It needs to support the main 4G/LTE bands used in NZ, which are primarily Band 28 (700MHz) and Band 3 (1800MHz).
An eSIM is often way more convenient. You can get it all set up before you even leave home and it just springs to life when you land. We’ve also found eSIM plans can give you a lot more data for your money.
Is It Better to Get a Physical SIM or an eSIM?
Honestly, this really comes down to your phone and what you prefer. A classic physical SIM card is a super reliable, widely available choice, especially if your phone doesn't support eSIMs or you just like the idea of buying a plan when you arrive.
For a completely hassle-free trip with instant connection, check out the huge range of New Zealand travel eSIMs and SIM cards from SimCorner. You can find the perfect plan for your trip at https://simcorner.com.


