
Getting a travel SIM card in NZ is, without a doubt, the easiest way to make sure you have reliable and affordable mobile data for your whole trip. It's a world away from expensive international roaming. With a local SIM, you get seamless connectivity to use your GPS, book tours on the fly, and post your photos without dreading a monster bill when you get home.
Why a Local SIM Is Your Best Travel Companion in NZ
Picture this: you're navigating the breathtaking, winding roads of the Coromandel Peninsula, or maybe you've just landed after a long flight and you're trying to find your accommodation in Queenstown. Then you look down at your phone and see those two dreaded words: "No Service." It’s a reality for a lot of travellers who try to get by with spotty public Wi-Fi or take a gamble on their home provider’s eye-watering roaming charges.
Roaming is kind of like paying for a rental car by the kilometre—every little megabyte you use adds up to a surprisingly massive cost. A local travel SIM, on the other hand, is your all-access pass. It lets you travel with confidence, knowing you’ve got a solid connection right there in your pocket.
Unlocking a Seamless Travel Experience
Grabbing a dedicated travel SIM card for NZ is about so much more than just scrolling through Instagram. It's one of the most essential tools for modern travel. It gives you the freedom to be independent and spontaneous, changing your plans whenever you feel like it without having to desperately hunt for a Wi-Fi signal.
Just think about these real-world scenarios:
- Reliable Navigation: Using Google Maps or Waze to find your way through remote spots like Milford Sound, where Wi-Fi is pretty much a myth.
- Instant Bookings: Finding and booking a last-minute jet boat ride or a glow-worm cave tour straight from your phone.
- Effortless Communication: Keeping in touch with tour guides, Airbnb hosts, and all the new friends you're bound to make.
- Sharing Moments: Instantly uploading photos of those jaw-dropping landscapes to share with everyone back home.
Choosing a local SIM card isn't just a techy decision; it's a smart travel move that directly shapes how smooth and enjoyable your trip is. It turns your smartphone from a potential headache into your most powerful travel accessory.
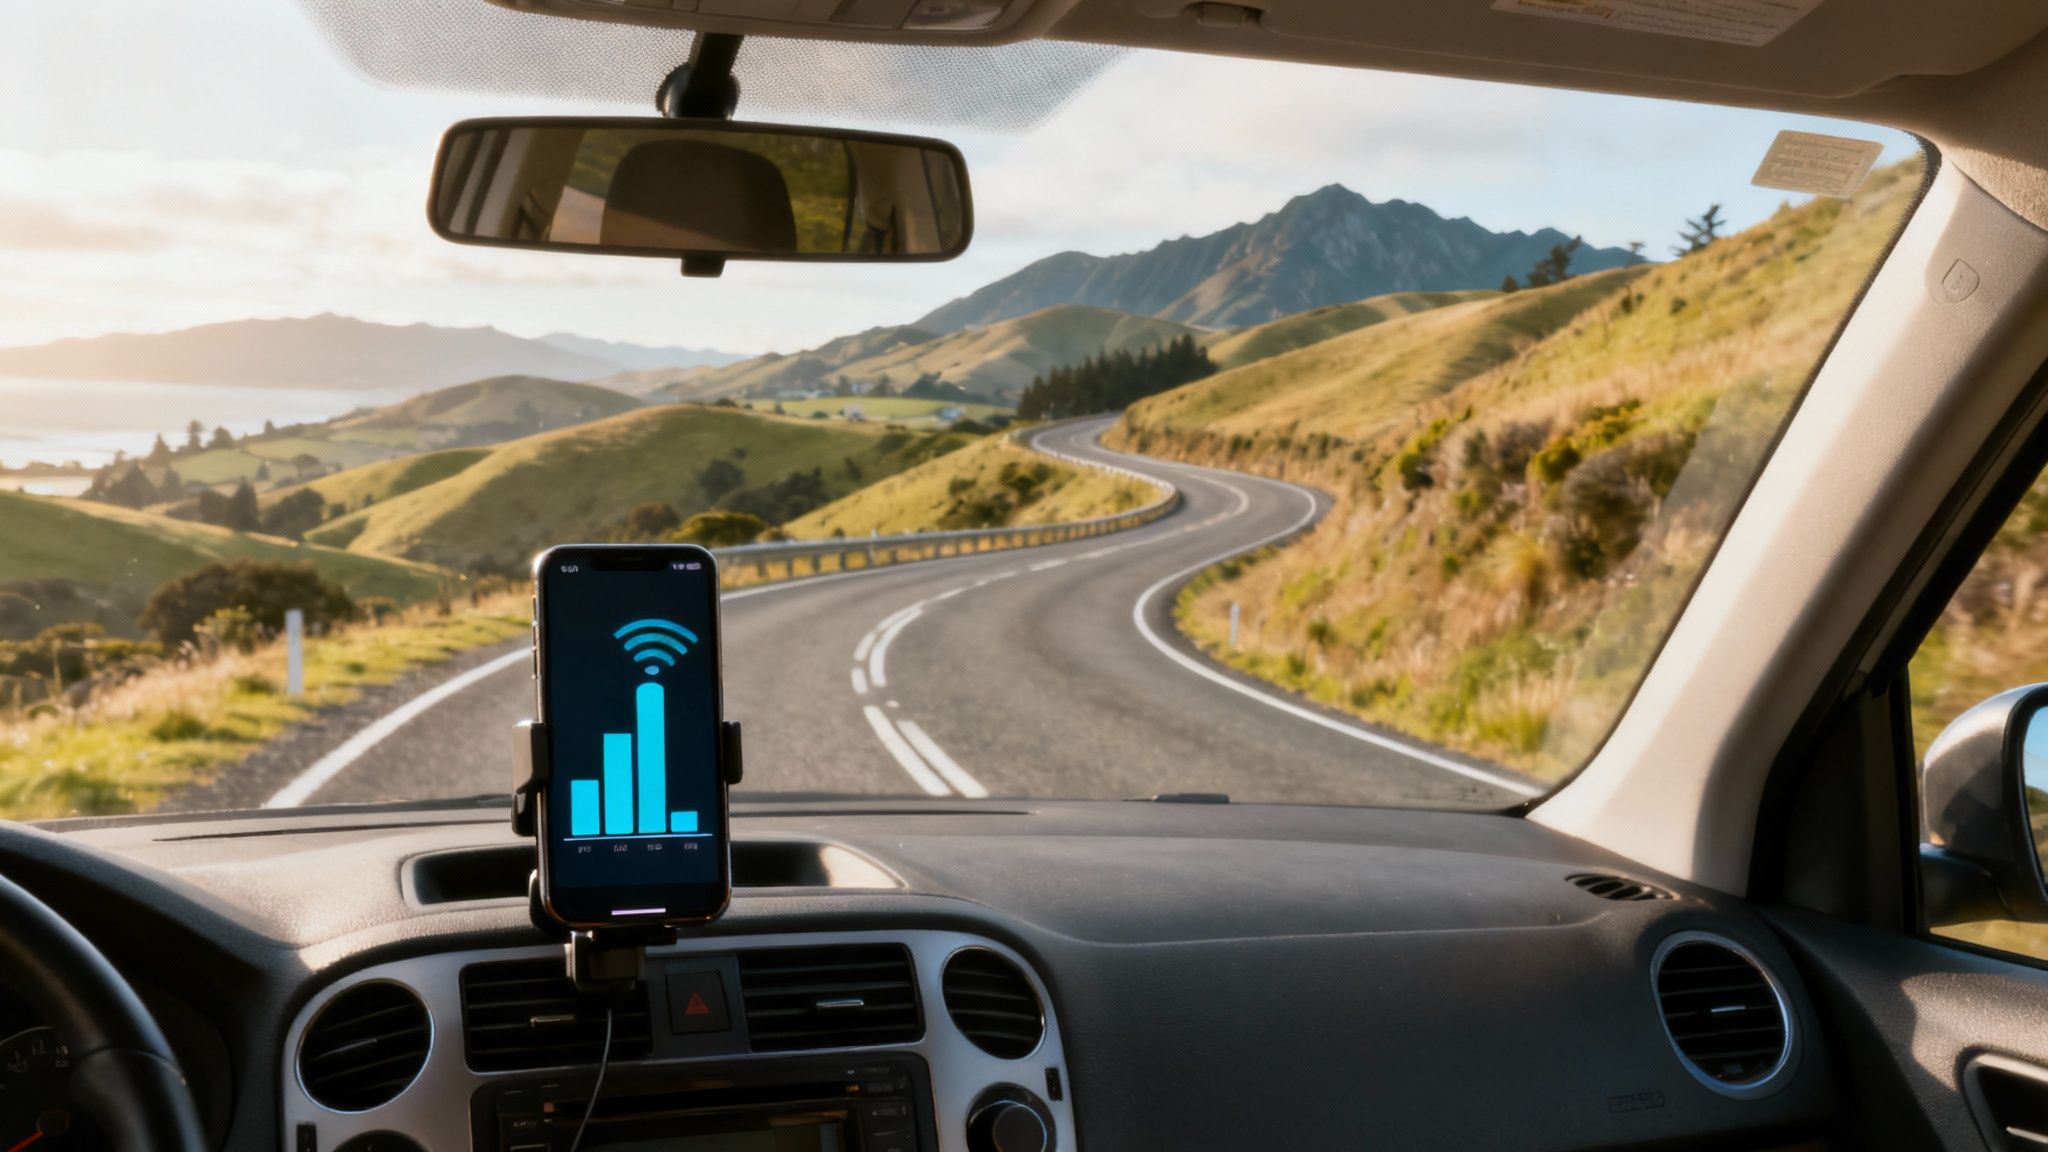
This is what we mean by seamless connectivity—having a strong signal that empowers you to explore, even in the most stunningly remote landscapes.
That image perfectly captures the freedom that good mobile data gives you. It's all about exploring and connecting without limits.
Cost-Effective and Flexible Connectivity
Beyond just being convenient, the savings are huge. The major New Zealand telcos all offer prepaid travel SIM packs designed specifically for tourists. For example, you can find plans starting as low as NZD 29 for a package that includes 2GB of data, plus 200 minutes and texts, valid for a month.
If you're a heavier data user, there are options that scale all the way up to NZD 99, which can get you a massive 100GB of data, unlimited local calls, and even some international minutes. You can dig into more details on these budget-friendly New Zealand SIM options on whatsdavedoing.com. This prepaid approach means you know exactly what you're paying for and avoids that horrible shock of a phone bill that can easily run into the hundreds of dollars if you stick with roaming.
Choosing Your Connection: Physical SIM vs. Digital eSIM
So, you're about to land in New Zealand, and you need to get your phone hooked up to a local network. Your first big decision comes down to two choices: the old-school physical SIM card or its slick digital cousin, the eSIM. Getting your head around the difference between them is the key to kicking off your trip without a hitch.

Think of it this way. A physical SIM is like a physical concert ticket. You have to hunt down a kiosk at the airport or a mobile shop in town, buy the little plastic chip, and then carefully pop it into your phone. It’s a process we’re all familiar with, and it’s been a trusty option for travellers for decades.
An eSIM, on the other hand, is like getting that concert ticket as a QR code sent straight to your email. It's a digital key you download to your phone, letting you activate a mobile plan instantly—no fumbling with tiny bits of plastic or paperclip-ejector-tools required. For modern travel, this convenience is a total game-changer.
Understanding the Physical SIM Card
The physical SIM card is the traditional route to getting connected in NZ. It’s been the standard for years, so it's a comfortable and straightforward choice if you're someone who prefers having something you can actually see and hold.
You just buy a prepaid starter pack from a provider like Spark, One NZ, or 2degrees and follow the instructions to get it into your phone’s SIM tray. This is a perfect option if you have an older phone that doesn’t support eSIMs or if you just feel more at ease with a tangible product.
The only real downside is that you have to physically go and get one. That might mean lining up at an airport kiosk after a long-haul flight or finding a store in the city, which can eat into precious exploring time.
The Rise of the Digital eSIM
An eSIM (which stands for embedded SIM) is a tiny chip that’s already built into your smartphone by the manufacturer. Instead of swapping out physical cards, you activate your plan simply by scanning a QR code or going through an app. In a few taps, you've downloaded your connection profile.
This method gives you incredible flexibility. You can buy and set up your travel SIM card for NZ before you even pack your bags, activating it the second your plane touches down. No more hunting for a shop, and you can keep your home SIM card in your phone—super handy for getting those two-factor authentication texts from your bank.
The real magic of an eSIM is its immediacy. It turns getting connected from a physical chore into a simple, digital setup that takes just a few minutes, from anywhere you have an internet connection.
This move towards digital convenience is definitely showing in how people travel. While you can still easily grab a physical SIM, more and more international visitors are choosing eSIMs for their instant activation and the sheer relief of not having to swap cards.
Physical SIM vs. eSIM At a Glance
Still on the fence? This quick comparison should help clear things up.
| Feature | Physical SIM Card | eSIM |
|---|---|---|
| Setup Process | Must physically insert into phone | Downloaded via QR code or app |
| Activation Time | Immediate after purchase & insertion | Instant, can be done before arrival |
| Convenience | Requires finding a store or kiosk | Can be purchased and set up anywhere |
| Phone Compatibility | Works with nearly all phones | Requires a newer, compatible phone |
| Keeping Home Number | Must remove your home SIM | Can keep home SIM active (dual SIM) |
| Best For | Older phones, travellers preferring tangible products | Modern phones, convenience-focused travellers |
Ultimately, both paths lead to the same result: getting you online to share photos of those stunning NZ landscapes.
So, Which One is Right For You?
Choosing between a physical SIM and an eSIM really boils down to your phone and your personal travel style. The absolute first thing you need to do is check if your device is eSIM-compatible. Most smartphones released in the last few years are, but it’s always smart to double-check in your phone’s settings.
Here’s a quick breakdown to help you decide:
-
Go for a physical SIM if:
- Your phone is an older model and doesn't support eSIMs.
- You prefer a tangible product and the familiar ritual of swapping cards.
- You want to grab a plan from a kiosk as soon as you get through customs.
-
Choose an eSIM if:
- Your phone is eSIM-compatible and unlocked.
- You're all about convenience and want to be online the moment you land.
- You need to keep your home SIM active for calls, texts, or banking apps.
In the end, both options will keep you connected while you're exploring Aotearoa. If you want to dive even deeper into the pros and cons of each, check out our detailed comparison of eSIM vs. Physical SIM technologies.
Comparing New Zealand's Top Mobile Providers
Alright, now that we're clear on the difference between a physical SIM and an eSIM, let's get into the main players on New Zealand’s mobile scene. Picking the right one isn't just about grabbing the cheapest deal; it's about matching a provider's strengths to where your adventure will take you. The three big names you'll see everywhere are Spark, One NZ (which used to be Vodafone), and 2degrees.
Each one has prepaid plans designed for travellers, but they come with crucial differences, especially in network coverage and how much data you get for your dollar. Think of it like renting a car: a little hatchback is perfect for zipping around Auckland, but if you're hitting the rugged West Coast, you’ll want a 4x4. The best travel SIM card in NZ for you works the same way—it all depends on where you're going and what you need to do.
Spark: The Coverage King
If you’re planning to venture beyond the big cities, Spark is almost always the top recommendation. They have the most extensive 4G/5G network in New Zealand, giving you the best shot at staying connected in remote spots and national parks. If your trip involves hiking in Fiordland or driving the stunning Catlins coast, Spark's reach could be the difference between having maps and being completely off the grid.
Their prepaid travel packs are built around this reliability. They might be a few dollars more than the competition, but that small investment often pays for itself in sheer peace of mind.
- $30 NZD Plan: A common starting point that gets you around 4GB of data, plus a good chunk of local minutes and texts for 28 days.
- Data-Heavy Plans: If you're working on the road or streaming a lot, they offer plans that go all the way up to 40GB for $80 NZD.
For adventurers who need a signal they can count on, Spark is the undisputed go-to.
One NZ: The Balanced Contender
One NZ, having taken over Vodafone's massive network infrastructure, is a very strong number two. Their coverage is almost as good as Spark's, especially in all the populated areas and along the main tourist trails. For most visitors sticking to hotspots like Queenstown, Rotorua, and the Bay of Islands, One NZ's network will feel flawless.
Where they often try to win you over is on price and features, sometimes throwing in a bit more data for your money. They're a fantastic all-rounder, striking a great balance between cost, coverage, and data.
Choosing a provider is a strategic part of your trip planning. Don't just look at the price; pull up their coverage maps and trace your route. Make sure your digital lifeline will be there when you need it most.
Their plans are designed to fit a wide range of travellers. A typical visitor plan might offer 3GB of data for around $30 NZD, making them a really competitive choice for those watching their budget.
2degrees: The Value Champion
2degrees is the third major provider and has a reputation for offering killer value, especially in and around the cities. While its own network isn't as vast as the other two, it has a roaming deal with One NZ. This clever setup means you get great service where most people are, and you can still rely on a partner network when you're out in the sticks.
Where 2degrees really shines is the price tag. You'll often find you get more gigabytes for your buck, making it a brilliant option if your travels are centred on Auckland, Wellington, Christchurch, and other main hubs.
- Top Value: You can find deals like 3GB of data for $30 NZD or a smaller 1.5GB for just $19 NZD.
- Heads Up: Just be aware that 2degrees sometimes adds a small, one-off $5 NZD fee to register the SIM card.
If you’re a city-hopper or don’t plan on going too far off the beaten track, 2degrees offers some of the best-value travel SIM cards NZ has to offer.
NZ Mobile Provider Plan Comparison for Travellers
To make things even easier, here’s a quick side-by-side look at what you can typically expect from each provider. Remember, these deals and data amounts can change, so it’s always a good idea to double-check their websites when you land.
| Provider | Plan Name (Example) | Data Allowance | Price (NZD) | Validity | Best For |
|---|---|---|---|---|---|
| Spark | Prepaid Value Pack | 4 GB | $30 | 28 Days | Remote & Rural Coverage |
| One NZ | MyFlex Prepay | 3 GB | $30 | 28 Days | Balanced Performance & Value |
| 2degrees | Prepay Plan | 3 GB | $30 | 1 Month | City Travellers & Budget |
So, what's the final verdict? Spark is your safest bet for flawless coverage everywhere. But if your trip keeps you closer to civilization, both One NZ and 2degrees are excellent, cost-effective choices that will keep you connected on your New Zealand adventure.
Right, so you've picked a plan and you're ready to get connected. This is the final piece of the puzzle to getting your phone sorted for your New Zealand adventure. Whether you've gone for a classic physical SIM or a modern eSIM, we'll walk you through exactly what to do.
There are really three ways this can go. You can be super organised and buy your SIM online before you even pack your bags, grab one the second you step off the plane at the airport, or pop into a local shop once you're in town. Let's look at each so you can figure out what works best for you.
Path 1: Buying Your SIM Online Before You Go
This is my personal favourite method for a stress-free start to any trip. It’s perfect for anyone who likes to have all their ducks in a row before leaving home.
- Pick a Provider: Jump online and browse sites like ours at SimCorner, or check if the New Zealand providers ship internationally. For an eSIM, you’ve got dozens of global providers to choose from.
- Choose a Plan: Find a data bundle that lines up with how long you’ll be away and how much you think you’ll be scrolling, streaming, and navigating.
- Place Your Order: If it's a physical SIM, you’ll pop in your shipping address. For an eSIM, a QR code will land in your email inbox almost instantly.
- Get it Activated: With an eSIM, you can scan the QR code and install it right away. Just remember to only switch it on once you land in New Zealand, otherwise, the clock on its validity will start ticking.
Sorting it out beforehand means no frantic search for a SIM card store when you're tired and jet-lagged. You can switch off flight mode and get online straight away.
Path 2: Grabbing a SIM at the Airport
If you'd rather sort things out in person, buying a SIM at the airport is a super popular and easy choice. Big international airports like Auckland (AKL) and Christchurch (CHC) have kiosks for Spark, One NZ, and sometimes 2degrees right in the arrivals hall.
Landing after a long-haul flight can be a bit of a blur. Knowing you can walk straight to a kiosk and get your phone sorted takes a huge weight off. It lets you focus on the important stuff, like finding your shuttle and getting to your hotel.
You’ll see the brightly coloured booths for the main providers as you come through. Here’s how it usually goes:
- Find the Kiosks: Look for the Spark or One NZ logos in the international arrivals area.
- Have Your Passport Ready: You'll need to show your passport for ID when they register the SIM. This is standard practice.
- Pick Your Plan: The staff there are total pros at helping tourists. Just tell them how long you’re staying and they’ll point you to the best prepaid deal.
- Let Them Do the Work: The best part? The staff will almost always pop the SIM in for you and make sure it’s activated and working before you leave the counter. It's a fantastic service.
Path 3: Visiting a Store in Town
Missed the airport kiosks or just want to take your time? No worries. You can easily find an official provider store in any city or decent-sized town, usually in the main shopping streets or malls.
The process is pretty much the same as at the airport. You'll need your passport, and the staff will talk you through the plans and get you all set up. This is a great, less-rushed option if you have more questions or want to properly compare the deals.
Getting a new SIM card going is generally pretty straightforward, but a little guidance never hurts. For a more detailed breakdown, check out our guide on how to install a SIM card abroad. It's packed with extra tips to make sure you get connected without a single hiccup.
Staying Connected Across New Zealand's Landscape
New Zealand’s epic geography is what makes it a traveller's dream, but those same majestic mountains and remote coastlines can be a real headache for mobile networks. Picking the best travel SIM card in NZ is only half the battle. Knowing how to actually get the most out of your signal is what will keep you connected on your adventure.
It's important to set some realistic expectations. When you're in cities like Auckland, Wellington, and Christchurch, you’ll get brilliant 4G and even 5G speeds—perfect for streaming, video calls, and uploading photos on the fly. But as you head out on the road to those iconic spots like Fiordland or the West Coast, you'll notice that signal can start to dip.
This isn’t a flaw with the providers; it's just the reality of covering a vast, rugged country with a small population. The good news is, with a few clever tricks up your sleeve, you can stay in touch even when you feel like you're in the middle of nowhere.
Master Your Connectivity Before You Go
Honestly, the single best thing you can do is plan for the moments you will be offline. Don't wait until your signal bars vanish to realise you don’t know how to get to your next stop. It’s a classic rookie mistake, but seasoned travellers always think ahead.
Before you leave your hotel or Airbnb (while you’ve still got solid Wi-Fi), download offline maps for the entire region you're exploring. Both Google Maps and MAPS.ME are fantastic for this and let you navigate perfectly without using a single megabyte of data. This one simple habit is an absolute lifesaver on those long, remote drives.
It's also a great idea to check your provider’s coverage map when you're planning the day's route. This gives you a clear picture of where you can expect a strong signal and where you might hit a digital black spot.
Practical Tips for a Stronger Signal
Even with the best SIM card, you can do a few things to squeeze every last drop of performance out of your connection. These small tricks can make a huge difference when you're just trying to send a quick message or look something up.
- Understand Data Congestion: In popular spots like Queenstown during peak season, the networks can get pretty crowded. If your data feels sluggish, it might not be a weak signal—just too many people online at once. Try again during off-peak times, like early in the morning or later in the evening.
- Manual Network Selection: Sometimes your phone stubbornly clings to a weak signal from a distant tower. A quick fix is to dive into your phone’s settings and try manually selecting a different network to see if it grabs a stronger connection.
- Conserve Your Data: When you’re in a low-signal area, your phone works overtime and chews through battery just trying to stay connected. Be smart with your data to save both your allowance and your battery life. Not sure how much you'll need? Our guide on how far 10GB of mobile data will take you can help you figure it out.
Being smart with your connection is all about working with the landscape, not against it. By planning for those offline moments and using your data efficiently, you ensure your phone stays a powerful tool for your entire New Zealand journey.
The need for reliable travel connectivity is exploding. The global travel SIM market is expected to jump from USD 3.5 billion to roughly USD 7.6 billion by 2035, all thanks to travellers who want—and need—seamless mobile access across borders.
Right, so you’ve landed in stunning New Zealand, popped in your new travel SIM, and… crickets. Nothing. Before you feel that all-too-familiar tech frustration bubbling up, take a breath. Most of these little hiccups are completely normal and can be sorted out in just a couple of minutes.
Think of this as your quick-start guide to connectivity. We’ll walk through the most common issues—from your phone giving your new SIM the cold shoulder to data that stubbornly refuses to work—and give you a simple checklist to get you online and back to your adventure.
My Phone Says No Service
Seeing "No Service" or "Emergency Calls Only" flash on your screen is a bit of a heart-stopper, but it’s usually the easiest problem of all to fix. Your phone just needs a moment to properly shake hands with the new network.
Always start with the simplest solution first:
- Restart Your Phone: The classic “turn it off and on again” is a classic for a reason. A full reboot forces your phone to rescan for local networks and, more often than not, solves the problem right away.
- Check the SIM Placement: If you’re using a physical SIM card, it might just be a little loose. Power down your phone, gently pop out the SIM tray, and make sure the card is sitting snugly in its spot before sliding it back in.
- Manual Network Selection: Sometimes, your phone needs a little push in the right direction. Head into your phone's mobile network settings and switch off "Automatic" network selection. After a moment, a list of available networks (like Spark or One NZ) should appear. Just tap to manually select the one your SIM is designed for.
For the vast majority of travellers, one of these three steps will get that "No Service" message gone. If you're still stuck, it's time to dig a bit deeper into your phone's settings.
Mobile Data Isn't Working
This is the other common snag. You can see you’ve got a signal, and maybe you can even make a call, but none of your apps can get online. This almost always points to an APN (Access Point Name) setting that hasn't updated correctly.
Think of an APN as a digital address that tells your phone exactly how to connect to the mobile data network. When you change providers, this address sometimes needs to be manually corrected for the internet to start flowing.
Your phone is supposed to do this automatically, but it doesn't always get it right. Here’s what to do:
- Check APN Settings: You'll find the APN settings in your phone’s mobile or cellular network menu. The right details are usually printed on the SIM card’s packaging or listed on the provider's website.
- Create a New APN: If the fields are all blank, you might need to add a new APN profile yourself using the info you found. Don't worry, it's usually as simple as typing a single word, like "internet," into the APN field.
Lastly, make sure Data Roaming is switched ON in your phone's settings. I know it sounds counter-intuitive when you're using a local NZ SIM, but your phone often sees any SIM that isn't from your home country as "roaming". This is a crucial step that catches so many people out, and it's often the final switch you need to flip to get your mobile data working perfectly.
Your Top Questions About NZ Travel SIMs, Answered
We've gone through a lot, but I bet you still have a few questions rolling around in your head. It's completely normal. This final section tackles the most common queries we hear from travellers, giving you quick, clear answers so you can feel totally prepared for your trip.
Can I Keep My Original Phone Number?
With a New Zealand travel SIM, you'll be given a local NZ phone number (it will start with +64). This is a massive plus for making local calls, like booking a last-minute tour or ringing your hotel, without copping any international charges.
Your home number, which is tied to your regular SIM, goes dormant if you physically swap the cards out. But here's a great tip: if you use an eSIM, you can often run both your home plan and your NZ plan at the same time. This is perfect for getting those crucial verification texts from your bank on your original number while using the eSIM for data.
What Happens If I Run Out of Data?
Running out of data halfway up a mountain is a classic traveller's fear, but thankfully, topping up is dead easy. Most providers like Spark, One NZ, and 2degrees let you add more data directly through their apps or websites with a credit card.
You can also find top-up vouchers pretty much everywhere – supermarkets, petrol stations, and corner dairies. Just grab one, follow the simple instructions on the back, and you'll be back online in no time.
Do I Need to Unlock My Phone?
Yes, and this is the big one. Your phone absolutely must be unlocked from your home network provider to accept any foreign SIM card, physical or eSIM. If your phone is locked, it will simply refuse to recognise the new SIM. End of story.
Before you even pack your bags, call your provider back home and double-check your phone's status. Sometimes unlocking it can take a day or two, so get this sorted well before you fly.
Honestly, this is the most critical technical step. An unlocked phone is your golden ticket to cheap, local data anywhere you go.
Is It Cheaper to Buy a SIM Before I Arrive?
More often than not, yes. Buying an eSIM or a physical SIM online from a global provider before you leave home can save you a decent amount compared to grabbing a tourist pack at the airport. For instance, you might see airport plans starting around $30 NZD for 4GB, while online eSIM specialists can offer way more data for a similar price.
Plus, ordering ahead means you can hit the ground running. You can activate your plan the second you land, bypassing the queues at the airport kiosks and getting straight to the good stuff.
For a connection that’s both hassle-free and easy on the wallet for your New Zealand adventure, take a look at the range of travel SIMs and eSIMs from SimCorner. We have competitive plans designed to get you online the moment you touch down. Explore our New Zealand SIM card options at SimCorner.


