
So, you’ve just touched down in Aotearoa, ready for an epic adventure. Before you do anything else, the single smartest move you can make is grabbing a local prepaid sim card NZ. It's easily the cheapest and most reliable way to stay online. Trust me, relying on your home plan often ends in a heart-stopping roaming bill, and counting on public Wi-Fi is a gamble once you leave the main cities.
Why Bother With a New Zealand SIM Card?
Think of a local SIM card like a good pair of hiking boots – it's an essential bit of kit for your trip. It gives you the freedom to explore New Zealand without constantly worrying about finding a connection or racking up huge costs. International roaming fees can spiral out of control fast, turning a dream holiday into a financial headache. A local SIM completely sidesteps that problem.
The Freedom of a Constant Connection
With a Kiwi SIM in your phone, you can use all your favourite apps whenever you need them. Picture this: you're navigating a remote road in Fiordland with Google Maps, spontaneously booking a spot on a Hobbiton tour, or uploading that perfect shot from the top of Roy's Peak the moment you take it. These things become simple and stress-free.
Without one, you're stuck hunting for spotty and often insecure public Wi-Fi, which is a massive pain when you just need to look something up quickly.
Wallet-Friendly and Convenient Plans
The cost difference is a no-brainer. Prepaid SIMs in New Zealand are incredibly affordable, with most plans falling between NZD 20 and NZD 50.
Packages are designed for travellers, so you can pick what you need. If you're a light user, you can easily get by with 1.5GB to 3GB for around NZD 25. Need more data for maps and streaming? Heavy-duty plans offer up to 40GB for about NZD 50, often bundled with calls and texts. It gives you total control over your spending, a world away from the wild unpredictability of roaming charges.
For a deeper dive into the latest 2025 prices and plans, you should explore the ultimate guide to NZ SIM cards on TheBitJoy.com.
A local prepaid SIM isn’t just about saving money; it’s about making your trip better. It lets you be spontaneous, stay safe, and share your journey, so you can focus on the incredible landscapes and adventures New Zealand has to offer.
In the end, picking up a prepaid sim card nz is the smartest decision you'll make for a smooth, connected trip through this stunning country.
Choosing Your Provider by Network Coverage and Cost
Let's be honest, not all mobile networks in New Zealand are created equal. This becomes incredibly obvious the second you drive beyond the city limits. Picking the right provider is a classic balancing act: getting the reliable connection you need without blowing your travel budget.
The main players you'll come across are Spark, One NZ (which used to be Vodafone), and 2degrees.
Think of it like choosing the right vehicle for your Kiwi road trip. If you're planning a rugged South Island adventure where the signal can be sketchy, you'll want a sturdy 4WD. But if you're just sticking to the urban hubs of Auckland and Wellington, a zippy little city car will do the job perfectly.
The Big Three Providers Explained
Each provider has carved out its own niche, especially when it comes to how far their network reaches. Understanding these differences is the key to avoiding that sinking feeling when your GPS gives up on you in the middle of nowhere.
- Spark: This is your 4WD. Spark is widely seen as having the most extensive 4G and 5G coverage across the country. If you're heading to remote coastlines, national parks, or quiet rural spots, Spark is your safest bet for staying connected.
- One NZ: As the old Vodafone network, One NZ offers solid, robust coverage, particularly in populated areas and along the main highways. It’s a great 'all-rounder' that works well for most travel plans, though you might hit more black spots than Spark in the truly isolated regions.
- 2degrees: Often the budget-friendly choice, 2degrees gives you excellent service in cities and larger towns. It’s the 'city car'—perfect if you're an urban explorer, but its rural coverage just doesn't stretch as far as its competitors.
Balancing Coverage with Cost
As you'd expect, the best coverage usually comes with a slightly higher price tag. This is where you need to get real about what your trip actually involves.
To give you a concrete example, Spark's reputation for nationwide coverage is a huge plus for road-trippers. But its popular NZD 30 plan only gets you 4GB of data, which makes the cost per gigabyte feel a bit steep. In contrast, you might find a similarly priced plan from One NZ or 2degrees that offers more data, but with the trade-off of less comprehensive coverage.
To help you get a clearer picture, here’s a quick breakdown:
NZ Mobile Provider Snapshot: Coverage vs. Cost
| Provider | Best For | Typical Tourist Plan Cost (NZD) | Data Included |
|---|---|---|---|
| Spark | Remote/rural travel, extensive road trips | $30 - $40 | 4GB - 10GB |
| One NZ | A good all-rounder, major towns & highways | $30 - $40 | 5GB - 12GB |
| 2degrees | City-based travel, budget-conscious users | $20 - $30 | 2.5GB - 6GB |
This table gives you a general idea, but it’s always a good idea to dig a little deeper based on your own needs. For more tips on this, check out our detailed guide on how to choose the best international travel SIM card.
Ultimately, it all comes down to your itinerary. If you're hiking in Fiordland, paying a few extra bucks for Spark’s reliable signal is a smart move. If you’re just hopping between cafes in Wellington, a cheaper plan from 2degrees or One NZ will serve you perfectly well.
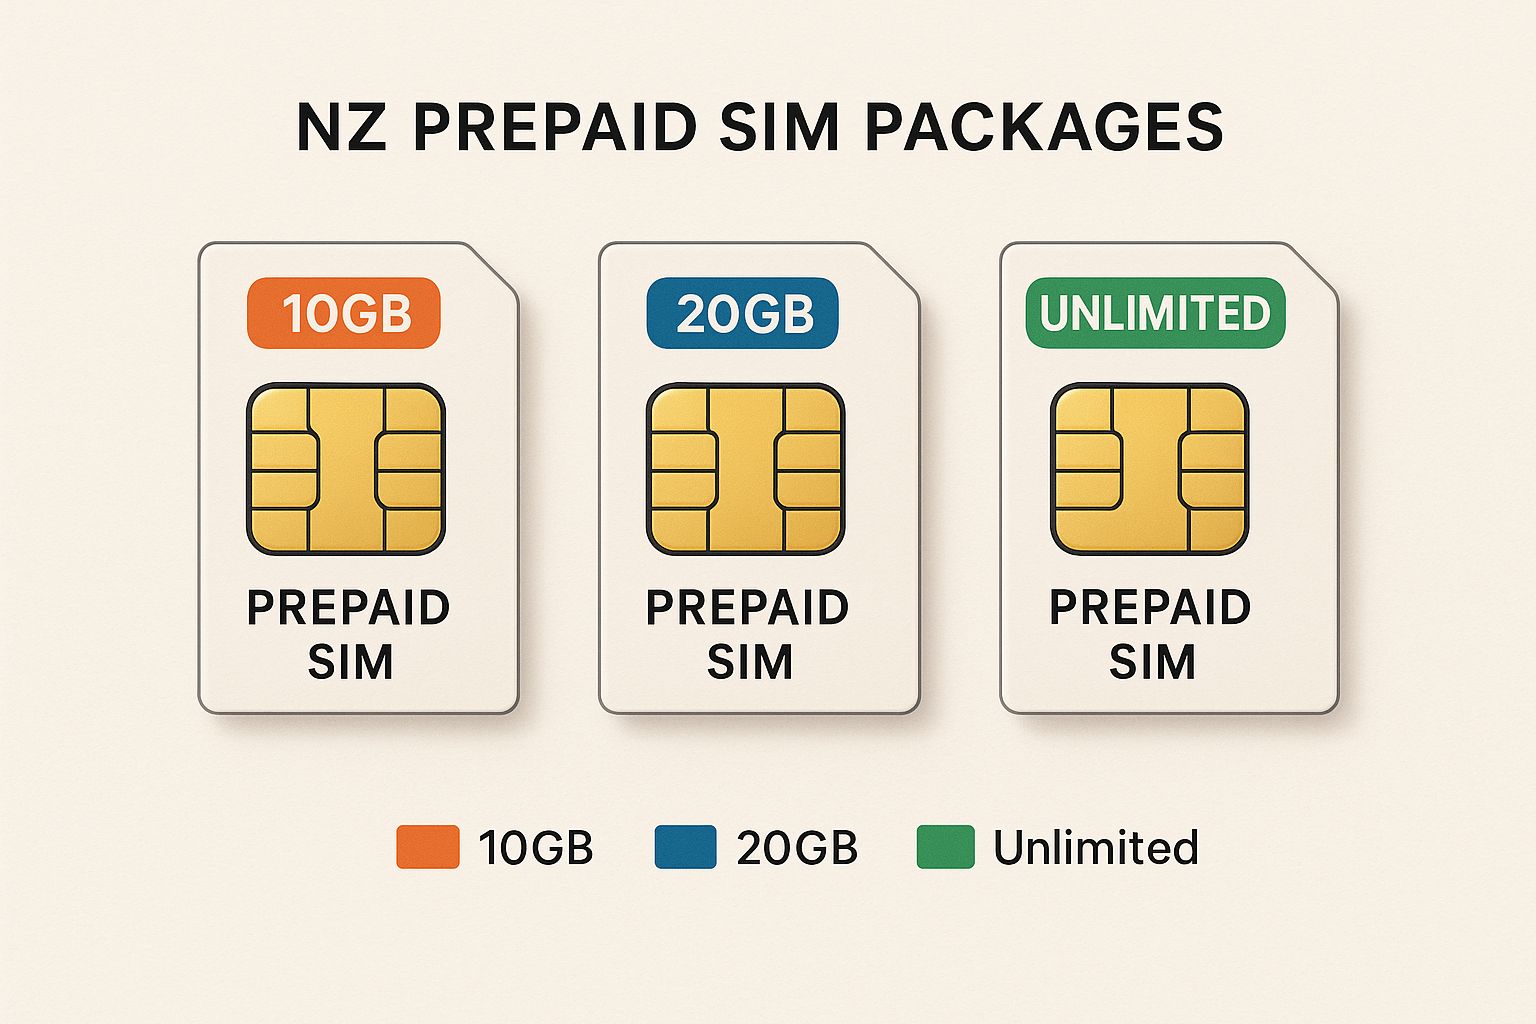
Right, so you've narrowed down your provider choices. Now for the tricky part: picking the actual plan. It's a bit like standing in front of a buffet – everything looks good, but you need to choose what actually fits your appetite. The goal is to match your data needs with your budget, so you’re not left paying for a pile of gigabytes you never touch or, worse, hitting empty while you’re trying to navigate back to your hotel.
When you start looking at a prepaid sim card nz menu, the options can seem a bit much. But don't worry, they usually fall into a few common-sense categories based on how you plan to use your phone.
Think of it this way: your data allowance is the fuel for your digital adventures in New Zealand. If you’re a light user, you just need a small tank for the odd map check and a few messages. But if you’re a digital nomad streaming video calls from a cafe in Wellington, you’re going to need a much bigger tank. It’s all about being honest about your travel style.
How Much Data Do You Actually Need?
This is the million-dollar question. It's so easy to overestimate and end up with a plan that's way too big for your needs. A little bit of planning here will save you cash that’s better spent on a good flat white.
To help you figure it out, I've created a quick guide to what these data amounts actually mean in the real world.
Estimating Your NZ Travel Data Needs
This table should give you a clearer picture of what different data plans will actually let you do on your trip.
| Data Plan | Good For (User Type) | What It Gets You (Examples) |
|---|---|---|
| 1GB - 3GB | The Weekend Warrior / Light User | Perfect for short trips where you'll mostly be on Wi-Fi. Enough for checking emails, some social media scrolling, and a few hours of Google Maps. |
| 5GB - 10GB | The Balanced Traveller | This is the sweet spot for most people on a week-long holiday. It gives you the freedom to upload photos, stream some music, and navigate without constantly checking your usage. |
| 20GB+ | The Heavy User / Digital Nomad | A must if you're working, hotspotting to a laptop, or streaming HD video regularly. This gives you peace of mind for data-heavy tasks. |
Basically, the more you plan to be online and away from a Wi-Fi signal, the more you'll want to lean towards the bigger plans.
Looking Beyond Just Data
While gigabytes are the main headline, don't forget to check the fine print for some seriously good perks. A lot of plans throw in unlimited calls and texts within New Zealand, which is super handy for booking tours or restaurants. Some even include calls to Australia – a massive bonus if your trip covers both sides of the Tasman.
You’ll find a huge range of packages out there. For instance, you might see a provider like 2degrees offering a plan starting around NZD 11 for 3GB, while others focus on bigger bundles with all the trimmings. This is great for us travellers, as it means you can almost always find the perfect prepaid sim card nz for your specific needs. If you want a deeper dive, you can learn more about the diverse SIM card options available on esimnewzealand.com.
The best plan isn't always the one with the most data. Consider the "hidden" value in bundles that include unlimited social media data for apps like Instagram or Facebook. If you're a heavy social user, these can save you a significant amount of your primary data allowance.
Physical SIM vs eSIM for Modern Travellers
The world of mobile connectivity has definitely moved beyond that tiny piece of plastic we’re all used to popping out of our phones. When you're looking for a prepaid sim card nz, you've now got two main choices: the classic physical SIM or the new-school, digital eSIM. Figuring out the difference between them is the key to picking the most hassle-free option for your trip.
I like to think of it like a hotel key. A physical SIM is that classic metal key you get from the front desk. It's something you can hold, you have to physically stick it in the lock (your phone), and it works perfectly fine.
An eSIM, on the other hand, is like getting a digital keycard sent straight to your phone's app. There's nothing physical to pick up or swap out. It’s just a digital profile that you download and get going with a quick scan of a QR code – you can often get this sorted before you even leave home.
The Advantages of Going Digital with an eSIM
For a lot of travellers, the eSIM is a total game-changer, and the biggest drawcard is just how convenient it is. You can buy and set up your New Zealand data plan from your couch in Australia, and it’ll be ready to activate the second your plane touches down in Auckland.
This instant, email-based delivery means no more fumbling around with tiny plastic cards or desperately searching for a SIM ejector tool at the airport. Better yet, an eSIM lets you keep your regular home SIM card active in your phone at the same time.
This is a massive perk for travellers. It means you can still get calls and texts on your normal home number while using the eSIM for cheap, high-speed data all across New Zealand.
Understanding the Trade-Offs
While eSIMs offer fantastic flexibility, they aren’t the perfect solution for absolutely everyone. The biggest hurdle is device compatibility. Most newer smartphones are built to handle eSIM technology, but older models might not be. It's super important to check if your phone is eSIM-ready before you buy a plan.
Also, while many global eSIM providers have really competitive rates, it’s always worth comparing them against the deals you can get from local NZ providers once you land. Sometimes, a physical SIM you buy at the airport might offer a better bundle, especially if you need a local NZ phone number for calls. To get a better handle on this technology, you can learn more about what an eSIM is and how it works in our detailed guide.
Ultimately, the choice comes down to your phone and your priorities. If you value getting connected straight away and the flexibility of managing multiple lines, an eSIM is probably your best bet. If you've got an older device or you just prefer a straightforward, in-person purchase, the classic physical SIM is still a rock-solid, reliable choice.
How to Buy and Activate Your NZ SIM Card
You’ve weighed up your options and picked a provider – now for the easy part. Getting your prepaid SIM card in NZ sorted is a really simple process, designed specifically with travellers like you in mind. You've got a few handy options for buying one, each with its own benefits.
The most common spot to grab a SIM is right at the airport the moment you land. Major international hubs like Auckland (AKL) and Christchurch (CHC) have dedicated kiosks for Spark, One NZ, and 2degrees waiting for you in the arrival halls. This is hands-down the most convenient option, as the staff there are total pros at getting tourists set up and on their way in minutes.
If you happen to miss the airport kiosks in the post-flight rush, don't stress. You can easily pop into an official provider store in any city centre, where the staff will make sure everything is working perfectly before you leave. Beyond that, you'll also find SIM cards for sale in supermarkets like Countdown and New World, and even at the local corner stores, which Kiwis affectionately call ‘dairies’.
Getting Your Physical SIM Working
Activating a physical SIM card is a piece of cake. The whole thing is quick, but you'll want to have a couple of key things ready to make it go off without a hitch.
-
Have Your Passport Ready: When you buy a SIM card in New Zealand, you'll need to register it. This is standard practice, and you’ll be asked to show your passport as ID. The shop staff will just take a quick copy or scan it, and your SIM will be officially registered to you.
-
Ensure Your Phone is Unlocked: This is a big one. Before you even leave home, you absolutely must make sure your smartphone is ‘unlocked’. All this means is that it’s not tied exclusively to your mobile provider back home. If it's locked, it simply won't recognise a new SIM from another carrier. A quick call to your provider should be all it takes to sort this out.
-
Pop in the SIM: The staff will almost always offer to do this for you. They’ll grab a little SIM ejector tool (that paperclip-looking thing), open your phone’s SIM tray, place the new card inside, and you’ll be good to go.
Activating an eSIM Before You Arrive
If you've gone with an eSIM, the process is even more streamlined and can be done before your plane even touches down in New Zealand.
An eSIM activation is entirely digital. After you buy your plan online, you’ll get a QR code sent to your email. You just scan this code with your phone’s camera, follow a few simple on-screen steps, and your New Zealand data plan will be installed and ready to fire up on arrival.
This means you can have a working internet connection the second you switch your phone off flight mode. It completely removes the need to hunt down a store, giving you a totally stress-free start to your adventure. Just be sure to double-check that your phone is eSIM compatible before you buy
How to Manage Your Plan and Top Up Data
You're in the middle of an epic New Zealand road trip, and then it happens: the dreaded "low data" warning pops up. Nothing kills the vibe faster. Thankfully, managing your prepaid SIM card NZ plan is a piece of cake once you know the ropes, keeping you connected from the top of the North Island right down to the bottom of the South.
Most providers have made it incredibly easy to keep tabs on your usage. The most straightforward way is usually through their dedicated mobile app. Think of it as your plan's dashboard, giving you a real-time look at how much data, calls, and texts you have left.
Another quick method is using a USSD code. It sounds technical, but it’s really not. You just dial a short code—something like *100#—and you'll get an instant text back with your current balance. Simple as that.
Easy Ways to Top Up Your Data
When your data starts running low, you've got a couple of traveller-friendly options to get it sorted. It's a bit like refuelling your car: you can either pay at the pump (using an app) or head inside to pay at the counter (with a voucher).
1. In-App or Online Top-Ups: This is the quickest and easiest route. Just open your provider's app or jump on their website, and you can buy extra data packs or top up your credit directly with a credit or debit card. It's perfect when you need a fast reload without having to hunt down a shop.
2. Physical Vouchers: If you want the classic Kiwi experience, just pop into any supermarket, petrol station, or local dairy (that's what we call a corner store). You can buy a top-up voucher, which comes with a unique code. Punch that code into your phone, and your account will be credited.
Here’s a pro tip to avoid getting caught out: set up usage alerts. Most provider apps will let you get a text when you've chewed through 80% or 90% of your data. This gives you a heads-up and plenty of time to top up before you run completely dry.
By getting familiar with these simple tools, you can keep your data flowing and stay focused on the incredible adventure ahead. For more expert advice on getting your mobile sorted, be sure to use our SIM card selection checklist in this 7-step guide to ensure you have all your bases covered.
Got Questions? We've Got Answers
Figuring out the ins and outs of a prepaid SIM card in NZ can feel a bit tricky at first. Don't worry, it's pretty straightforward. Let's tackle some of the most common questions travellers have before they get connected.
Can I Use My Own Phone in New Zealand?
You sure can, but there's one crucial catch: it absolutely must be unlocked. An unlocked phone is simply one that isn’t tied to a specific mobile provider back home. Most modern smartphones are sold this way, but it's always a good idea to double-check with your home carrier before you fly. If your phone is locked, a New Zealand SIM just won't work in it.
What Happens When My Prepaid Plan Runs Out?
Once your plan's validity period is up (usually after 28 or 30 days), your service will stop. That means no more data, calls, or texts until you top up your credit or buy a new plan.
The good news is your SIM card itself doesn't just die. You can easily reactivate it by adding a new plan, which is perfect if you decide to extend your adventure or come back for another visit soon.
Can I Share My Data with My Laptop or Tablet?
Yep! Most prepaid plans in New Zealand let you use your phone as a personal hotspot, which is often called tethering. This is incredibly handy for getting your laptop or tablet online when there's no Wi-Fi around.
Just keep in mind that sharing your connection chews through your data allowance much faster. It's a good idea to keep an eye on your usage through your provider's app so you don't get any surprises.
Do I Really Need My Passport to Buy a SIM Card?
Yes, this one is non-negotiable. To comply with local regulations, you'll need to show your passport as proof of identity whenever you buy a prepaid SIM card in New Zealand. The store will take a quick copy or scan it to register the SIM in your name. It's a standard procedure and only takes a minute or two to complete.
Ready to explore New Zealand with a connection you can count on? SimCorner has a fantastic range of affordable and reliable travel SIM cards and eSIMs to get you online the moment you land. Grab your New Zealand SIM card today at https://simcorner.com.


