So, you’re ready to ditch the tiny plastic SIM and jump into the world of eSIMs in Australia? Good choice. Getting set up is surprisingly quick and completely digital, meaning you can be connected in just a few minutes without fumbling around for a SIM ejector tool.
Your Quick Guide to eSIM Activation in Australia

First things first: Is Your Phone Ready?
Before you even think about buying a plan, you need to make sure your phone is actually eSIM-compatible. Most newer flagship models from the last few years are, but it’s always best to double-check. The easiest way is to dive into your phone's settings—look under 'Cellular' or 'Mobile Network' for an option that says something like 'Add eSIM' or 'Add Mobile Plan'. If you see that, you're good to go.
If you want to get a bit more background on the tech itself, our guide explaining what is a eSIM is a great place to start.
The Two Paths to Activation
Once you've confirmed your phone is on board, you have a couple of straightforward ways to get your eSIM up and running.
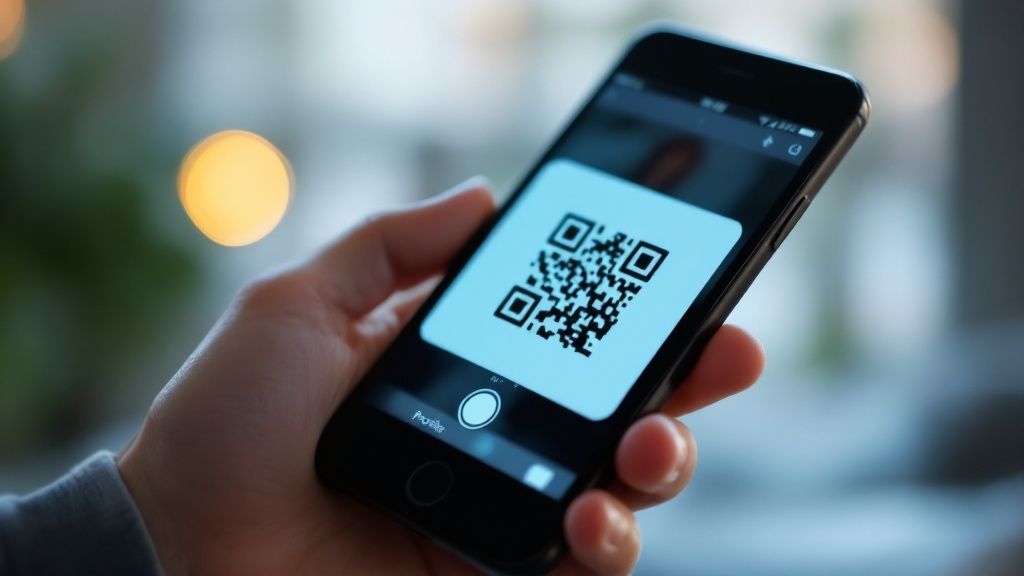
Most Aussie providers like Telstra, Optus, and Vodafone will send you a QR code. This usually lands in your email inbox or appears in your online account after you sign up. From there, you just need to open your phone’s camera via the cellular settings menu and scan it. It feels a bit like magic—your phone reads the code and installs your new mobile plan on the spot.
The other popular method, which is even easier, is activating directly within the provider’s app. After you’ve bought your plan, you can often just open their app, tap a few buttons, and the eSIM will activate itself. No scanning needed.
A Quick Heads-Up: Whichever method you choose, make sure you're connected to a stable Wi-Fi network. The activation process needs internet access to download your new mobile profile onto your device, and you don't want it to drop out halfway through.
To make the process as smooth as possible, have your account details ready. Some carriers will ask you to log in or verify who you are before they'll issue the eSIM profile. Think of this little bit of prep as the key to unlocking a much more flexible way to stay connected, whether you're at home or travelling around the globe.
So, Why Bother Switching to an eSIM?

Before we jump into the ‘how-to’, it’s worth taking a moment to understand why so many Aussies are making the change. An embedded SIM, or eSIM, is basically a digital version of that tiny plastic SIM card, but it's already built right into your phone or device. The upshot? You can get a mobile plan up and running without fumbling around with a physical card you're almost guaranteed to lose.
The real win here is the sheer flexibility. Picture this: you’re chilling on the couch, you spot a cracker of a mobile deal online, and within minutes, you’ve switched providers and are good to go. It’s a total game-changer for travellers, too. You can touch down in a new country, grab a local data plan online, and activate it on the spot. No more bill shock from insane roaming charges.
It's More Than Just a Phone Thing
The perks go well beyond just your smartphone. An eSIM lets you have multiple numbers on one device, which is brilliant if you want to keep your work and personal life separate without juggling two phones. You could have your main Aussie number and a second one for international calls, both active at the same time.
This tech is also what’s behind the boom in connected devices. Think smartwatches that have their own mobile plans or all those little IoT gadgets that need a steady connection. Because eSIMs are software-based, managing all these connections becomes a whole lot easier.
Key Takeaway: At its heart, an eSIM is all about instant, flexible connectivity. It ditches the physical SIM card, giving you total digital control over your mobile plans.
The Trend is Taking Off in Australia
This digital shift is really picking up steam. The Australian eSIM market was valued at USD 238.6 million in 2024 and is tipped to explode to USD 896.9 million by 2033. This growth is being fired up by big names like Apple and Samsung making eSIMs standard in their new gear, plus Aussie providers are making the digital sign-up process a breeze. If you're curious about the numbers, you can learn more about Australia's eSIM market trends.
For someone trying to manage business calls while travelling frequently, the benefits are a no-brainer. They can keep their Australian business number active while using a cheap local data eSIM for a trip to Europe or the US, all on the same phone. This dual-SIM power is a massive reason why knowing how to activate an eSIM is fast becoming a must-have skill.
Getting Your eSIM Running on an iPhone
Activating an eSIM on your iPhone is surprisingly simple. Apple has done a great job of making the whole process feel natural, guiding you through the setup without any confusing tech-speak.
For most people, the quickest way to get going is by scanning a QR code from your carrier. It’s a simple point-and-scan job that takes just a few seconds. Some Aussie carriers even let you activate the eSIM directly from their mobile app, which can be even more convenient.
A Quick Visual Guide for iOS
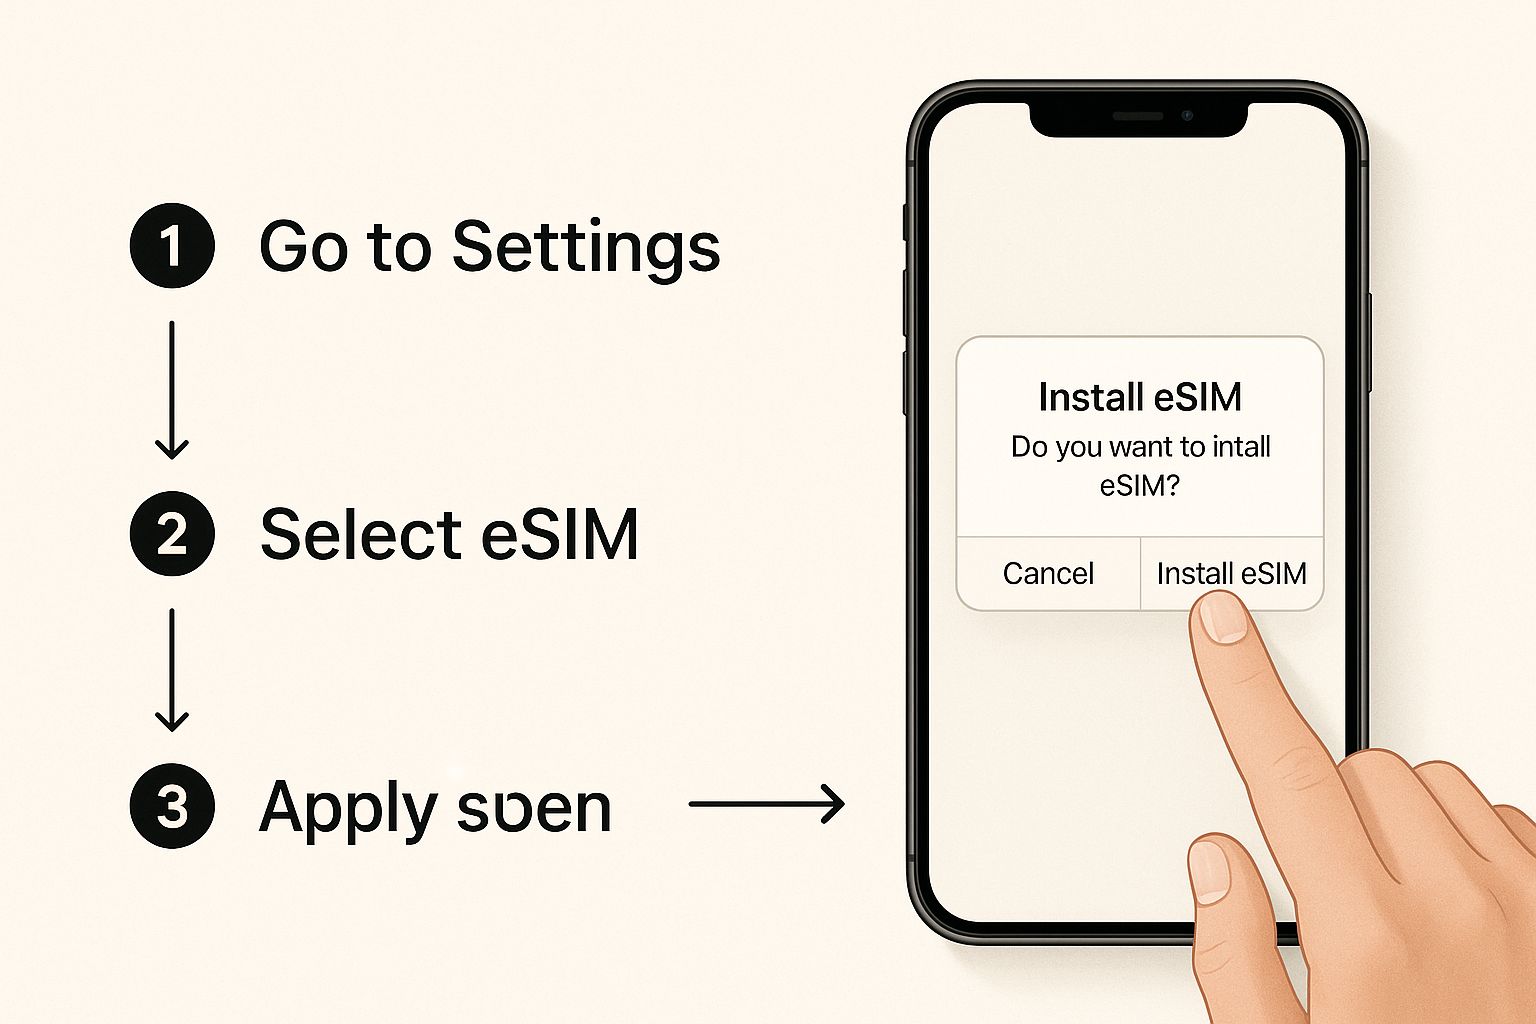
First things first, make sure you’re connected to a solid Wi-Fi network. Your iPhone needs an internet connection to download the eSIM profile from your carrier. Once you’re online, jump into the Settings app.
Next, you'll want to tap on 'Cellular' or 'Mobile Data' – the name can vary depending on your iOS version. This is your command centre for all things mobile. In here, you’re looking for the button that says 'Add eSIM' or 'Add Cellular Plan'.

Tapping this button is what kicks off the entire eSIM activation on your phone. It's no wonder this feature has taken off. Awareness of eSIM tech in Australia and worldwide shot up from around 20% in 2020 and is expected to hit 50% by 2025. This was massively helped along by big phone launches, especially when Apple started releasing eSIM-only iPhones in some regions, nudging both customers and telcos to get on board.
Finalising Your New Plan
After you tap 'Add eSIM', your iPhone will give you two choices: scan the QR code your provider sent you or punch in the activation details by hand. If you've got the QR code handy, just point your camera at it.
Once your iPhone reads the code and confirms the details, you'll see a final prompt to authorise the installation. One last tap, and your new mobile plan is ready to go on your device.
With the eSIM installed, iOS then cleverly asks you to give your new plan a label. This is a brilliant little feature if you're juggling multiple numbers.
Pro Tip: I always recommend labelling your plans clearly—think 'Business', 'Personal', or 'Travel Data'. It makes it so much easier to switch between them later and decide which line to use for calls, texts, and data without any guesswork.
Before you get started, it's always a good idea to double-check that your phone is good to go. You can have a look at our complete list of eSIM compatible phones to make sure your model supports the feature.
Setting Up an eSIM on Your Android Device
Activating an eSIM on your Android phone is just as simple as it is on an iPhone, even though the exact steps might look a little different depending on your device's manufacturer. Whether you're using a Samsung, a Google Pixel, or another brand, the core process is the same—you just need to know where to tap.
Your first port of call will be your phone’s main settings menu. For most Android users, you'll be looking for a section called 'Network & Internet'. If you're on a Samsung device, it's typically labelled 'Connections'. Think of this as the command centre for all your mobile and Wi-Fi settings.
Finding Your SIM Manager
Once you’re in the network menu, the next step is to locate the SIM manager. On a Google Pixel, you’ll tap the plus sign next to ‘SIMs’. For Samsung users, you'll need to find an option called 'SIM card manager'. Tapping this opens up a screen showing your current SIMs and gives you the option to add a new one.
From here, you’ll select ‘Add eSIM’ or a similar option like ‘Add mobile plan’. Your phone will then prompt you to choose how to add the new plan, which brings us to the two main ways to get your eSIM up and running.
The QR Code Method
By far the most common way to activate an eSIM is by scanning a QR code from your provider. It’s the go-to method for most Australian carriers, and for good reason—it’s incredibly quick and straightforward.
Your phone will launch its camera, all set for you to scan the code. Just point it at the QR code, and it will instantly read the plan details. For example, if you're activating a travel eSIM for a trip to the USA, that little square code contains all the network information needed to get you connected as soon as you touch down.
A common frustration is a QR code that just won't scan. Before you think about calling support, give your camera lens a quick wipe and make sure you’re in a well-lit area. It sounds almost too simple, but you’d be surprised how often this fixes the issue.
When Your Camera Fails You: Manual Entry
So, what happens if that QR code stubbornly refuses to scan? Don't stress, there's a reliable backup plan. On the same screen where your phone asks you to scan, you'll almost always see an option to ‘Enter details manually’ or something to that effect.
Your carrier should have provided these details alongside the QR code. You'll typically be looking for an 'SM-DP+ Address' and an 'Activation Code'. Just carefully copy and paste these into the fields provided. This manual approach is a real lifesaver when you're dealing with a dodgy printout or a camera that's acting up. It ensures you can still get your how to activate eSIM task sorted without any major roadblocks, keeping your connection in your hands.
Running Into Trouble? Common eSIM Activation Hiccups
Even the smoothest process can hit a bump now and then. If your eSIM isn't playing ball, don't stress—most of the common issues are surprisingly easy to sort out yourself, no need to wait on hold with customer support.
That Pesky QR Code Won't Scan
One of the most frequent frustrations is a QR code that just refuses to be recognised. Before you get too worked up, try the simple things first.
A smudge on your camera lens is often the culprit, so give it a quick wipe with a soft cloth. You'll also need a solid Wi-Fi connection for your phone to actually download the eSIM profile from the network. If that little code is still putting up a fight, try cranking up your screen brightness or simply ask your provider to send you a new one.
When Error Messages Pop Up
Sometimes your phone will give you a specific error, like "eSIM cannot be added" or "This code is no longer valid." This is often a sign that your device's software is a bit behind the times.
- Check for an Update: Dive into your phone’s settings and see if there are any pending software updates. Mobile carriers are always tweaking their network settings, and an outdated operating system can lead to compatibility dramas.
- Is Your Phone Locked? Make sure your device isn't still locked to your old provider. You’ll need an unlocked phone to add an eSIM from a different carrier.
Did You Know? It's become incredibly common for Aussies to juggle multiple mobile connections on a single device, something eSIMs have made a breeze. As of early 2025, Australia had a whopping 34.4 million cellular connections for a population of just 27 million. This just goes to show how vital a quick and easy activation is for us. You can dig into more stats on Australia's mobile habits over at DataReportal.
A Few Common Questions About Using eSIMs in Australia
Jumping into the world of eSIMs for the first time? It's natural to have a few questions. Let's run through some of the most common queries we get from travellers and locals in Australia, so you can feel totally confident making the switch.
Can I Change My Physical SIM to an eSIM?
Yes, you certainly can. It's a pretty straightforward process with major Aussie carriers like Telstra, Optus, and Vodafone.
Usually, it just takes a quick call to their support line or a visit to one of their stores. They’ll sort you out with a new eSIM profile, which typically comes as a QR code. Just scan it with your phone, and it'll activate, replacing your old plastic SIM card for good.
What Happens if I Factory Reset My Phone?
This is a really important one to know. When you go to factory reset your phone, you'll almost always see a prompt asking if you want to keep or erase your saved eSIM plans.
If you choose to erase them, your mobile plan is completely wiped from that device. To get it back, you'll have to get in touch with your carrier and ask for a new QR code to reactivate your service.
Crucial Tip: Pay close attention to the prompts during a reset. Accidentally deleting your eSIM can be a real headache. Always look for an option like 'Keep eSIMs' or 'Retain Mobile Plans' if you don't want to go through the reactivation process all over again.
Can I Use an International eSIM in Australia?
Absolutely! This is one of the best things about eSIM technology, especially for anyone travelling. You can buy a travel eSIM from a global provider before you even pack your bags.
For instance, if you're planning a trip to Europe, you can get your data sorted out well in advance. We actually walk through this entire process in our complete eSIM for Europe travel guide.
The same logic applies when you land in Australia. Just activate your international eSIM, and you'll connect to a local network, paying local rates instead of eye-watering roaming charges. The best part? You can keep your primary number active on the same phone for important calls and texts from back home.
Ready to travel without the roaming fees? SimCorner offers affordable and reliable international eSIMs for over 200 destinations. Get connected in minutes and enjoy seamless data wherever your journey takes you. Explore our plans today at https://simcorner.com.


